Transform Your Kitchen with a Stunning Shiplap Backsplash: My Journey from Boring to Beautiful
I never thought a shiplap backsplash kitchen would be the answer to my design prayers, but here we are – and I’m absolutely smitten.
Last spring, I was staring at my plain white walls, feeling completely uninspired by my cookie-cutter kitchen.
The quote for subway tile made me nearly choke on my coffee ($3,000? Really?).
That’s when my neighbor mentioned shiplap, and honestly, I thought it was just for barns and Joanna Gaines.
Boy, was I wrong.
Why Shiplap Backsplashes Are Taking Over Kitchens Everywhere
Let me paint you a picture of what makes this trend so irresistible.
First off, the texture is absolutely gorgeous – it adds this amazing depth that flat walls just can’t compete with.
I spent maybe $200 total on materials (compared to that heart-stopping tile quote).
The whole project took me one weekend, and I’m definitely not Bob Villa.
Here’s what sold me:
- Budget-friendly magic: $8-10 per board beats tile any day
- DIY-friendly: If I can do it with my basic toolkit, trust me, you can too
- Style chameleon: Works with farmhouse, coastal, modern – you name it
- Year-round appeal: Unlike trendy patterns that get old fast
Essential Materials for Your Shiplap Kitchen Backsplash Project
Before I dove in, I made approximately seventeen trips to the hardware store.
Save yourself the hassle – here’s exactly what you need:
The Non-Negotiables:
- Pine, MDF, or PVC shiplap boards (I went with pine because I love that natural wood grain)
- Semi-gloss or satin paint (trust me on this – flat paint in kitchens is asking for trouble)
- Level (this thing became my best friend)
- Nail gun or hammer and finishing nails
- Measuring tape
- Saw for cutting boards
The Game-Changers:
- Caulk and caulk gun (for those seamless looks)
- Wood filler (nail holes disappear like magic)
- Sandpaper
- Quality paintbrush or small roller
I learned the hard way that cheap paint shows every imperfection.
Spring for the good stuff – your future self will thank you.
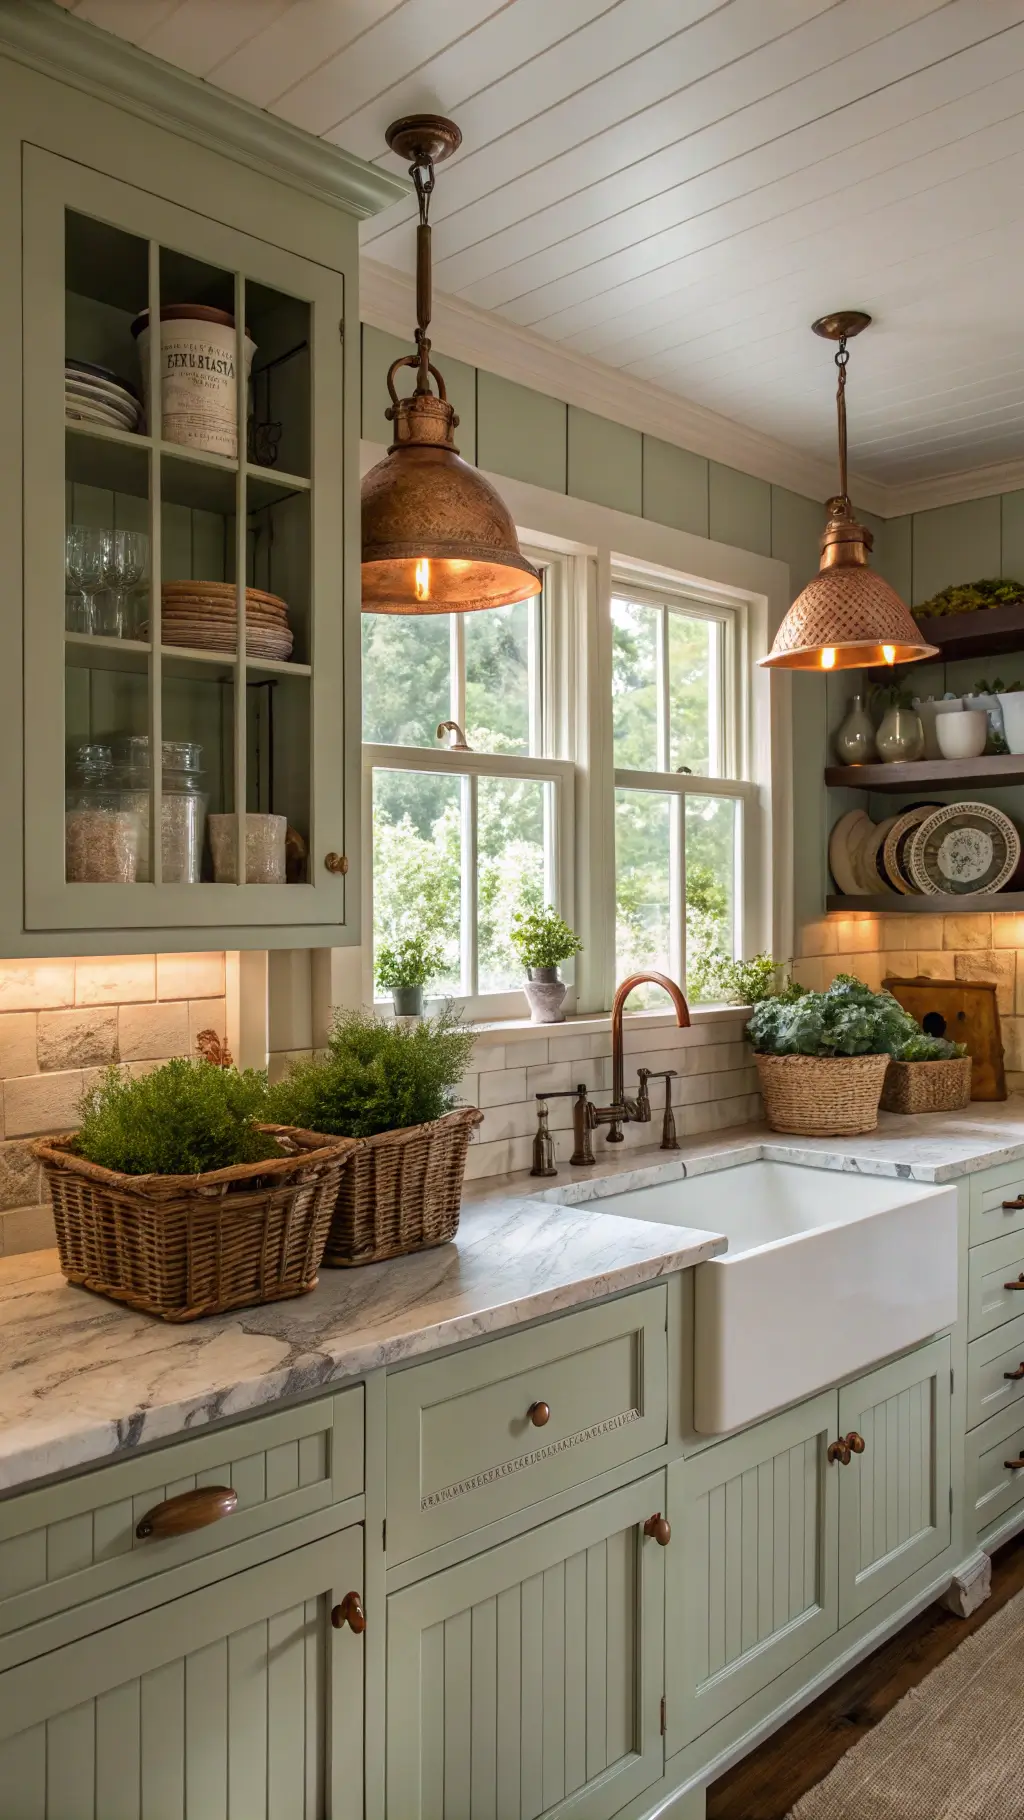
Design Styles That Make Shiplap Backsplashes Shine
The versatility here absolutely blows my mind.
My sister has stark white shiplap in her modern minimalist kitchen, and it looks like it belongs in a magazine.
Meanwhile, my best friend painted hers sage green for this incredible cottage vibe.
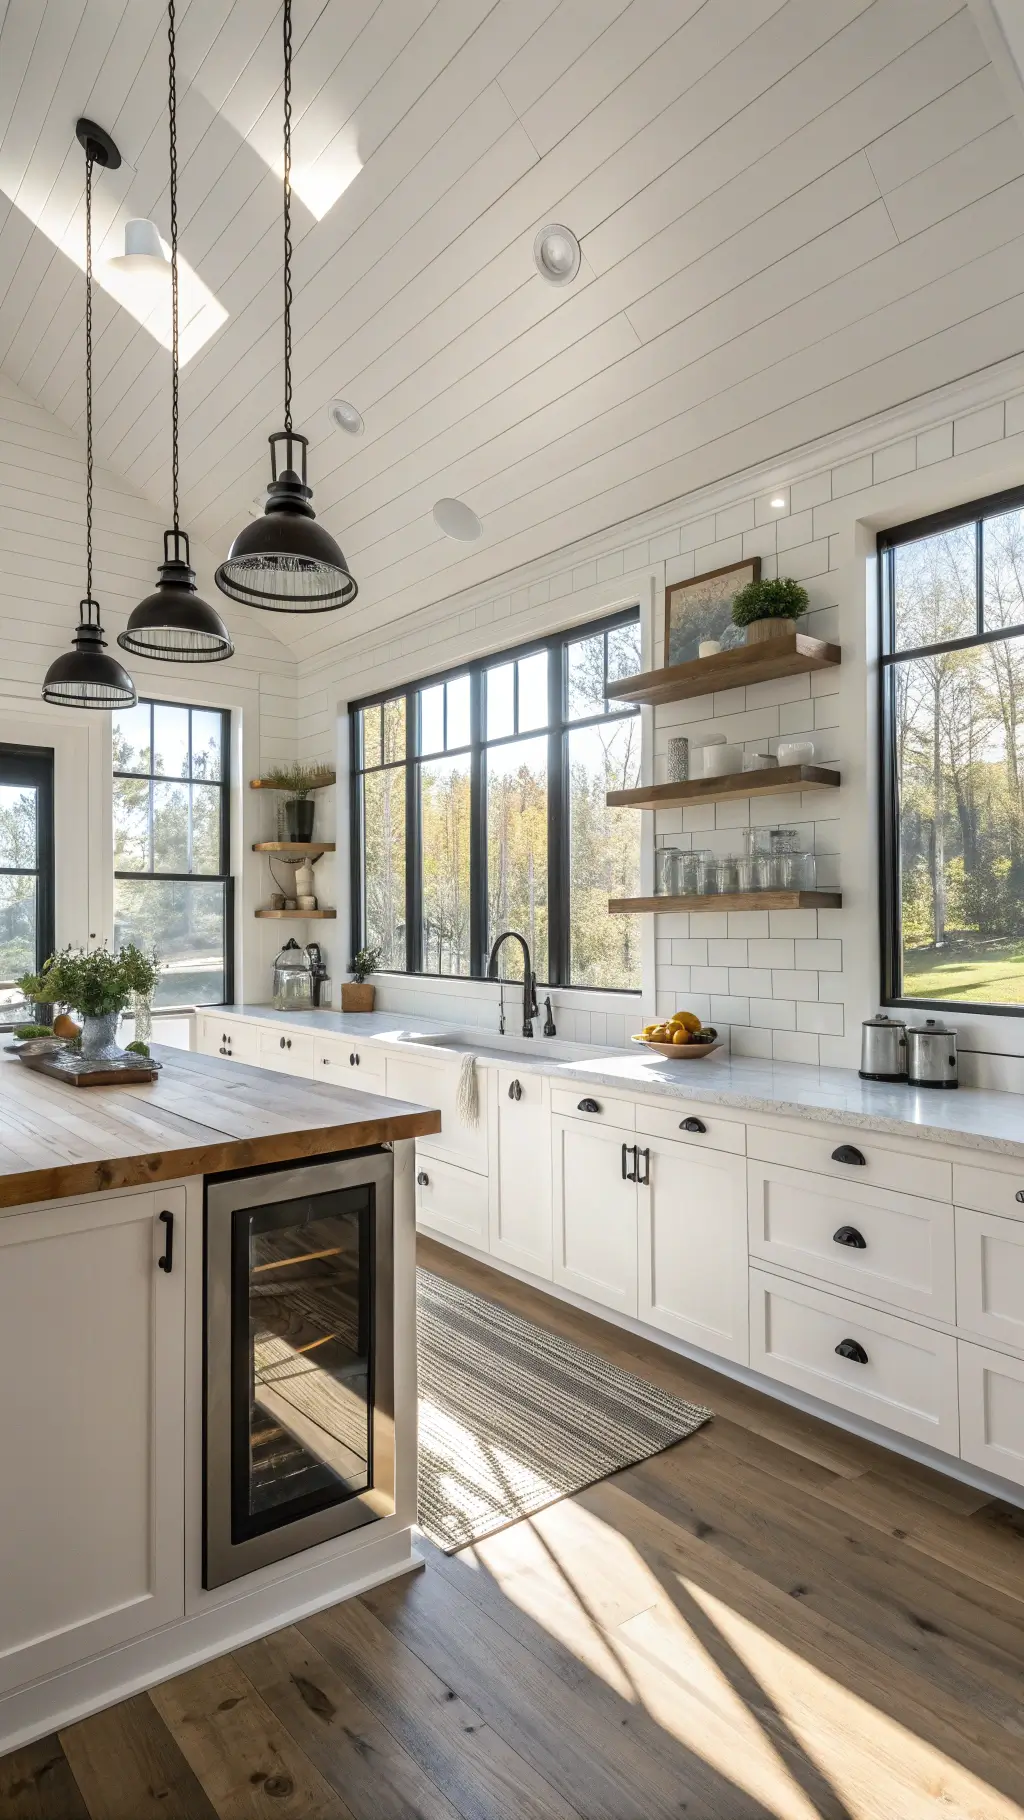
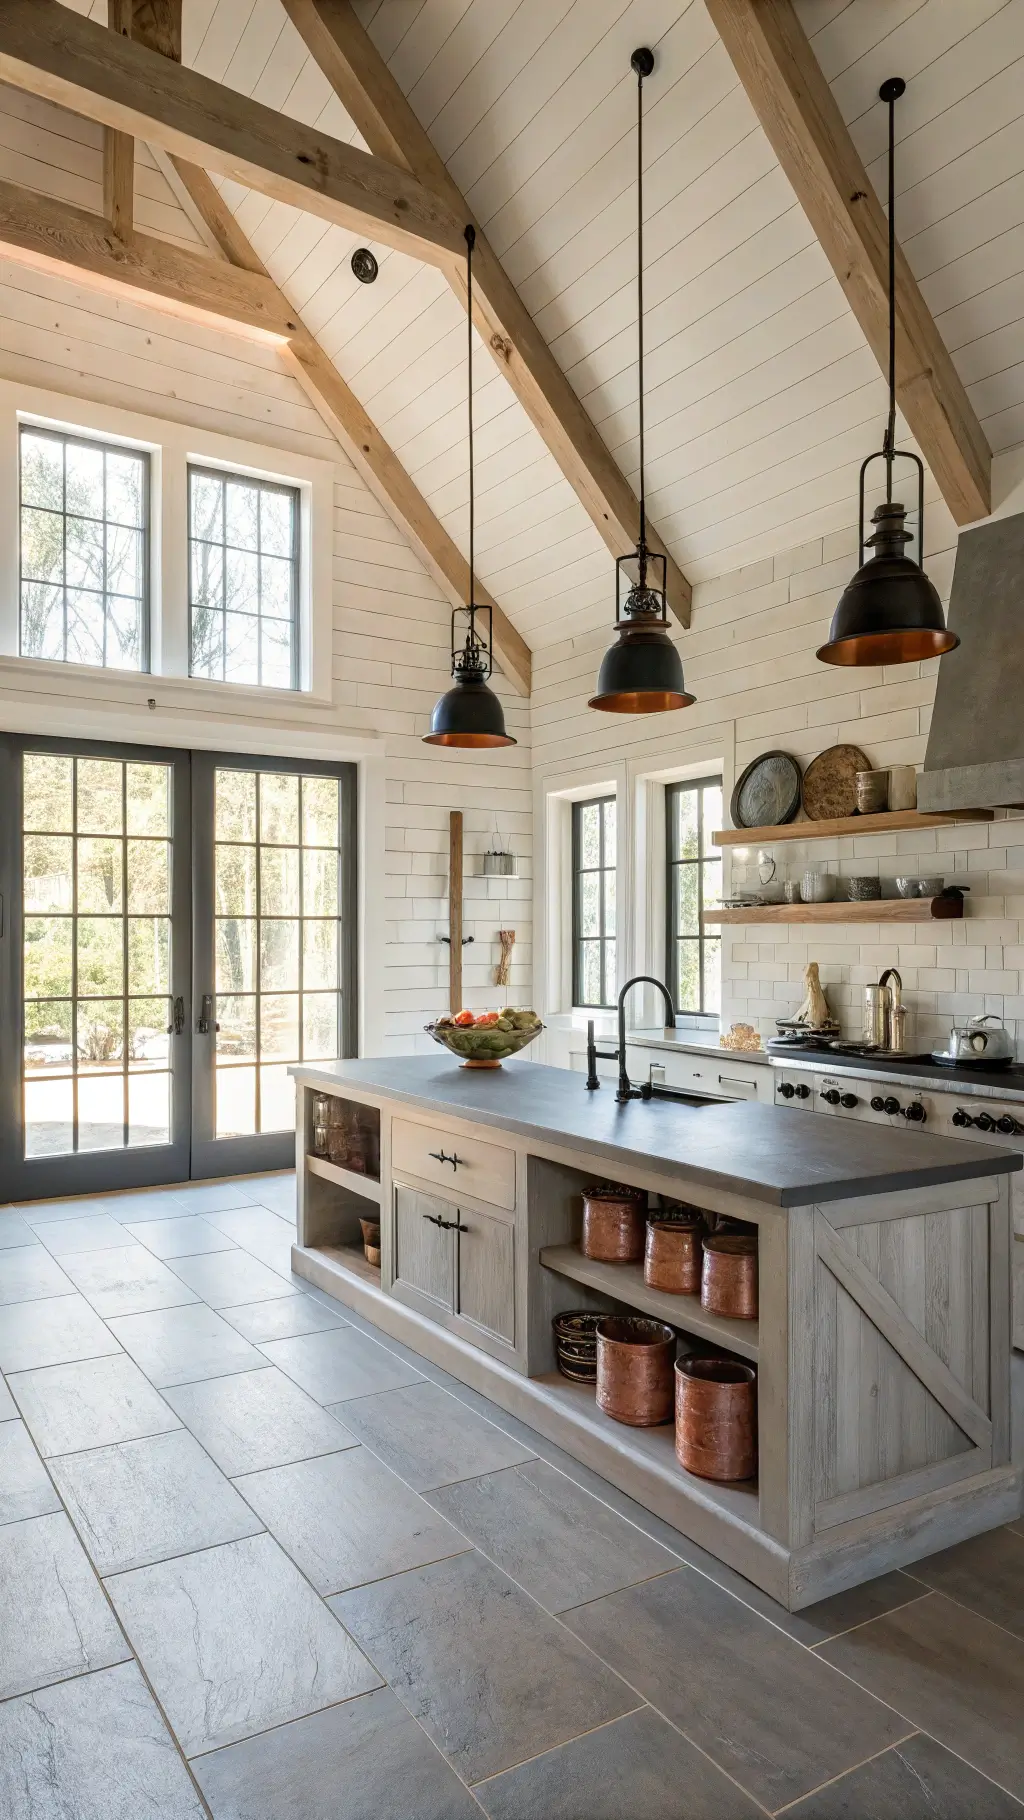
Modern Farmhouse Magic
- Black hardware
- Open wooden shelves
- Mason jar lighting
- Butcher block counters
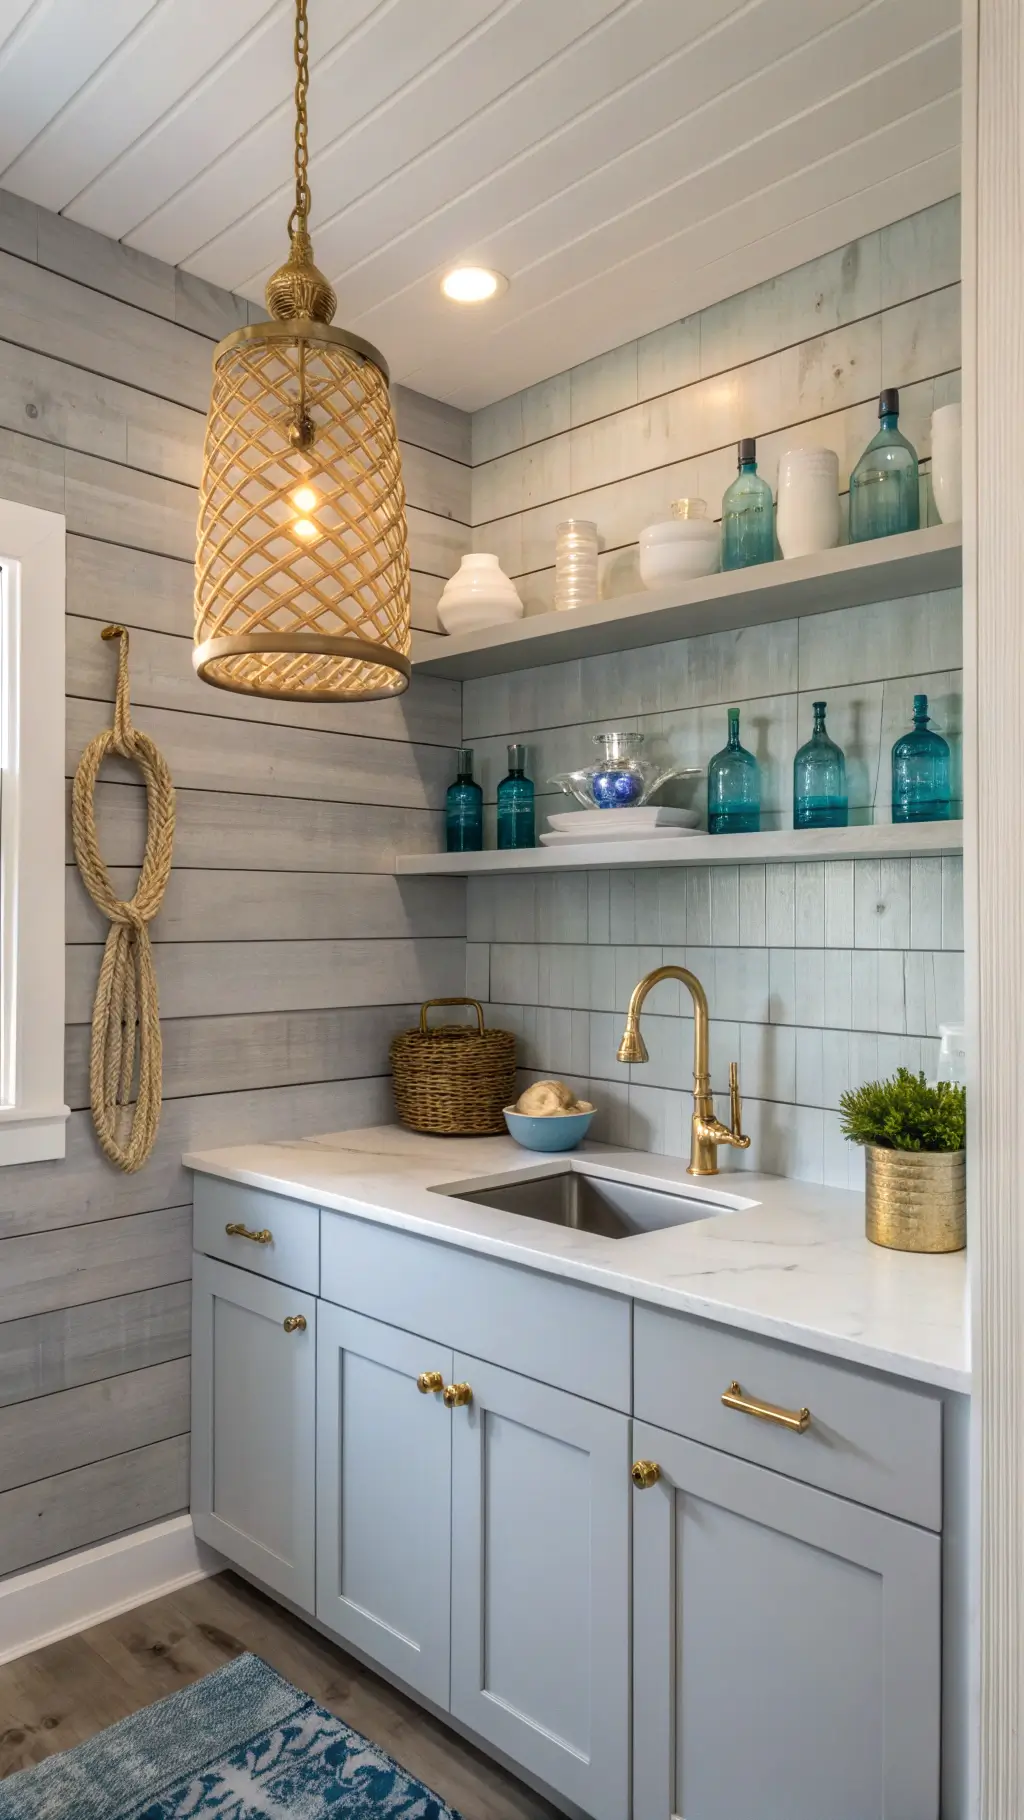
Coastal Cool Vibes
- Soft blue or weathered gray paint
- Brass fixtures
- White cabinets
- Natural rope accents
- Seashells displayed on open shelving
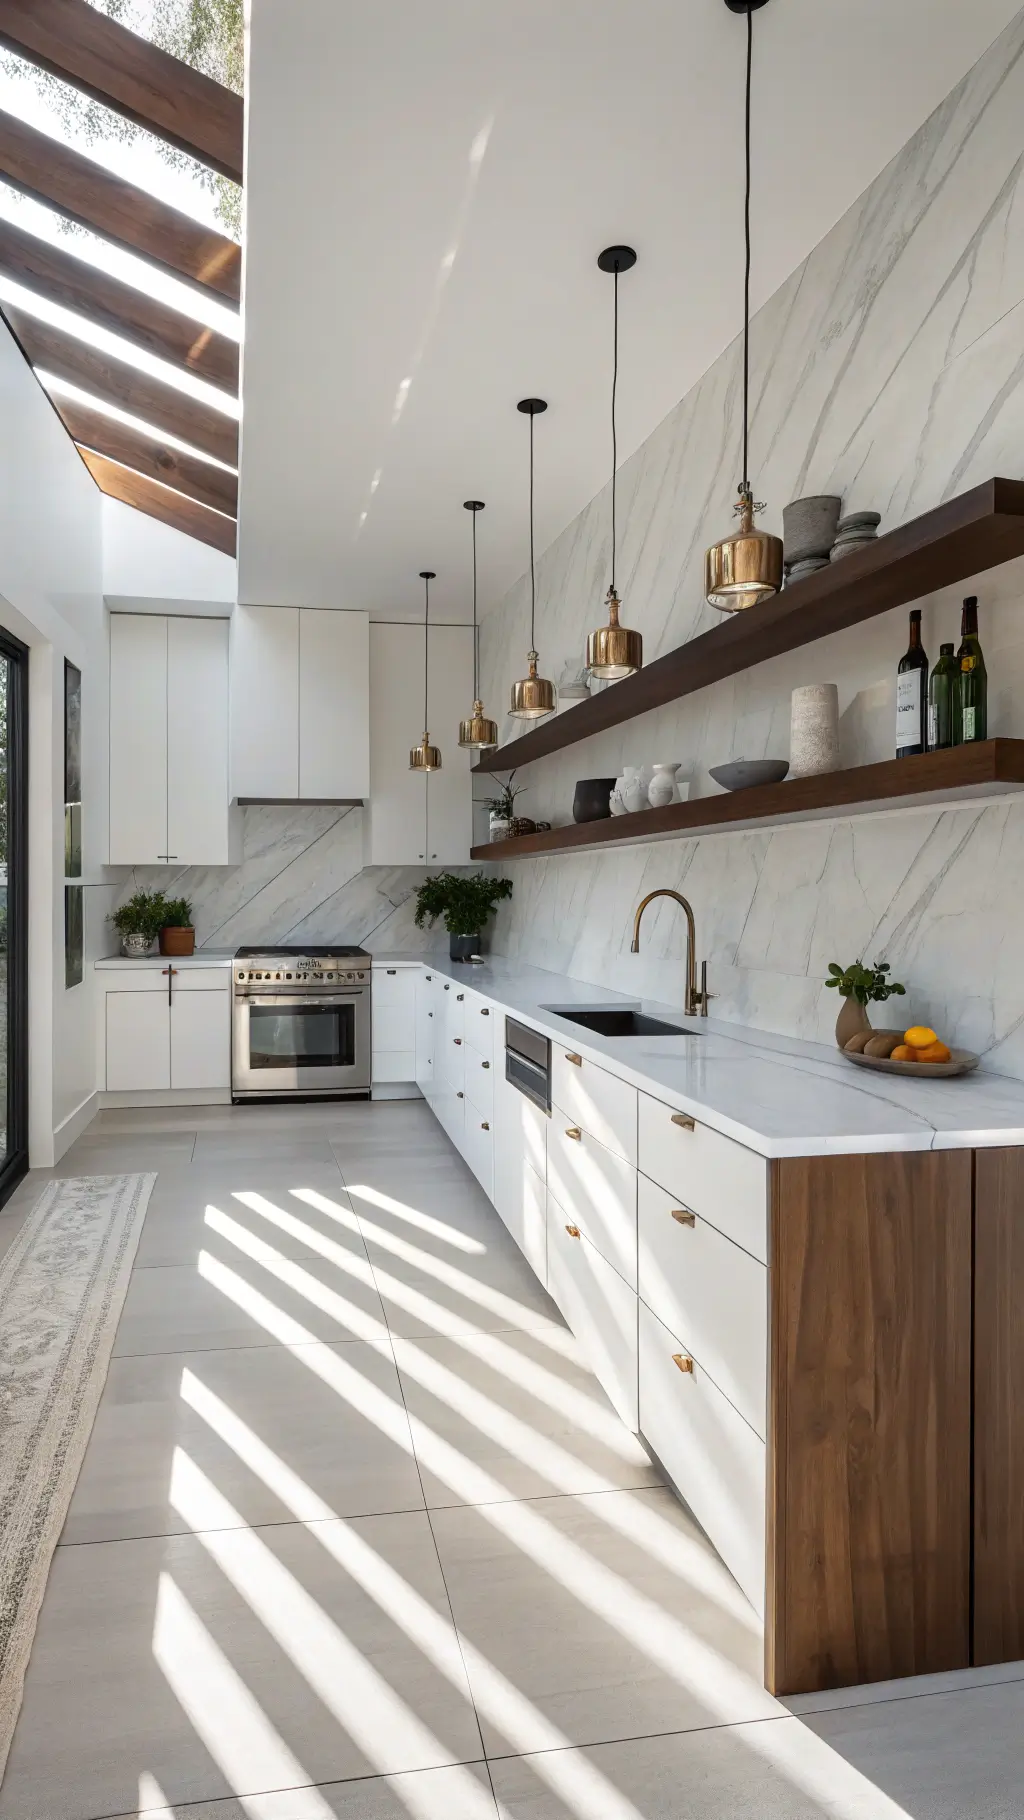
Minimalist Marvel
- Crisp white paint
- Hidden cabinet hardware
- Marble countertops
- Single floating shelf
- Nothing but clean lines
Step-by-Step Installation: How I Conquered My Shiplap Backsplash
Day One: The Prep Work
I started by removing my old backsplash (goodbye, boring beige).
The wall looked pretty rough, so I spent time patching holes and smoothing everything out.
Pro tip: Don’t skip this step like I almost did – bumpy walls equal wonky shiplap.
Next came finding the studs. I marked every single one with painter’s tape because I have the memory of a goldfish when I’m focused on a project.
Day Two: The Main Event
Starting from the bottom was crucial – I made sure that first board was perfectly level.
Each board got nailed into the studs (or my backing board where studs weren’t cooperating).
The satisfying thunk of the nail gun became oddly therapeutic.
The Tricky Parts Nobody Warns You About:
- Outlets: Measure three times, cut once (I may have wasted a board learning this)
- Windows: Leave a tiny gap for expansion – wood moves, people!
- Corners: Caulk is your best friend here
- Top edge: Consider adding a small trim piece for a finished look

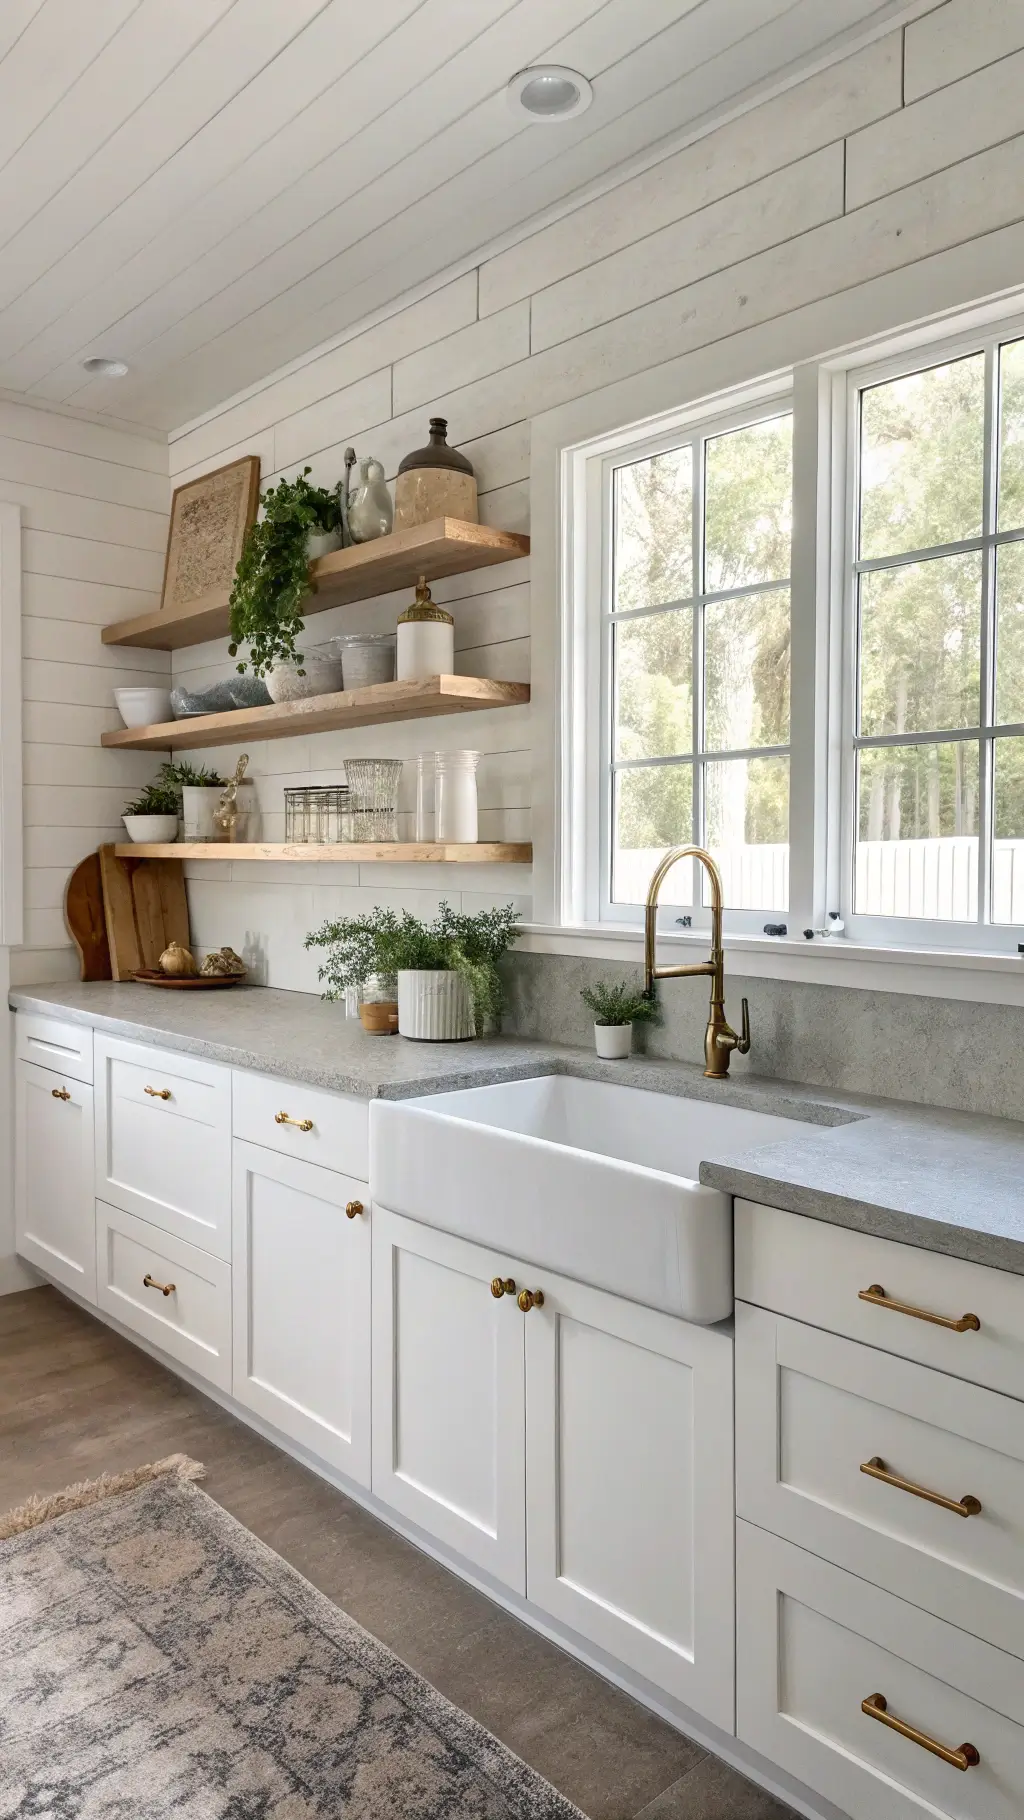
Styling Your New Shiplap Kitchen Backsplash
This is where the magic really happens.
I discovered that less is definitely more when you’ve got beautiful texture to show off.
My Go-To Styling Formula:
- Open shelving displaying pretty dishes or plants