Transform Your Outdoor Space Into a Wabi-Sabi Garden Paradise
Wabi-sabi gardens bring the peaceful Japanese philosophy of finding beauty in imperfection right to your backyard.
I’m gonna let you in on something magical that completely changed how I see my outdoor spaces.
Last spring, my perfectly manicured garden felt… empty.
Sure, everything was trimmed and tidy, but where was the soul?
That’s when I discovered wabi-sabi gardening – and trust me, it’s been a total game-changer.
What Makes a Wabi-Sabi Garden So Special?
Think of it as giving your garden permission to be itself.
No more fighting nature or obsessing over perfection.
Instead, you’re creating a space that celebrates:
- Natural aging and weathering
- Asymmetrical beauty
- Simple, rustic materials
- The changing seasons
The best part?
You probably already have half the stuff you need lying around.
Your Quick-Start Guide to Wabi-Sabi Style
Time and Budget Reality Check
Small spaces: I knocked out my first mini wabi-sabi corner in just 4 hours on a Saturday afternoon.
Bigger projects: Give yourself a few weekends to really let it evolve.
Money talk: This is where it gets really exciting – you can literally start with $0.
I began by:
- Collecting interesting rocks from walks
- Repurposing old wooden planters
- Letting moss grow where it wanted
- Using broken pottery as accents
Of course, you can splurge on artisan pieces if that’s your thing.
But the beauty of wabi-sabi is that free and found objects often work best.

Space Requirements (Spoiler: Any Size Works!)
Got a tiny balcony? Perfect for a mini meditation corner.
Small backyard? Even better – intimate spaces shine with this style.
Sprawling property? Create multiple discovery zones.
DIY Skill Level: Basically None Required
If you can move rocks around and plant stuff, you’re golden.
The “messier” it looks, the more authentic it becomes.
I actually had to unlearn my perfectionist habits!
Essential Elements for Your Wabi-Sabi Garden Design
Hero Pieces That Steal the Show
Weathered stones become your main characters.
I found three beauties covered in moss at a construction site (with permission!).
They’re now the centerpiece of my zen corner.
Aged wood elements add instant character.
That old garden gate I almost threw out?
Now it’s leaning artfully against my fence, creating the perfect backdrop.

Supporting Cast of Characters
Here’s what really brings the magic:
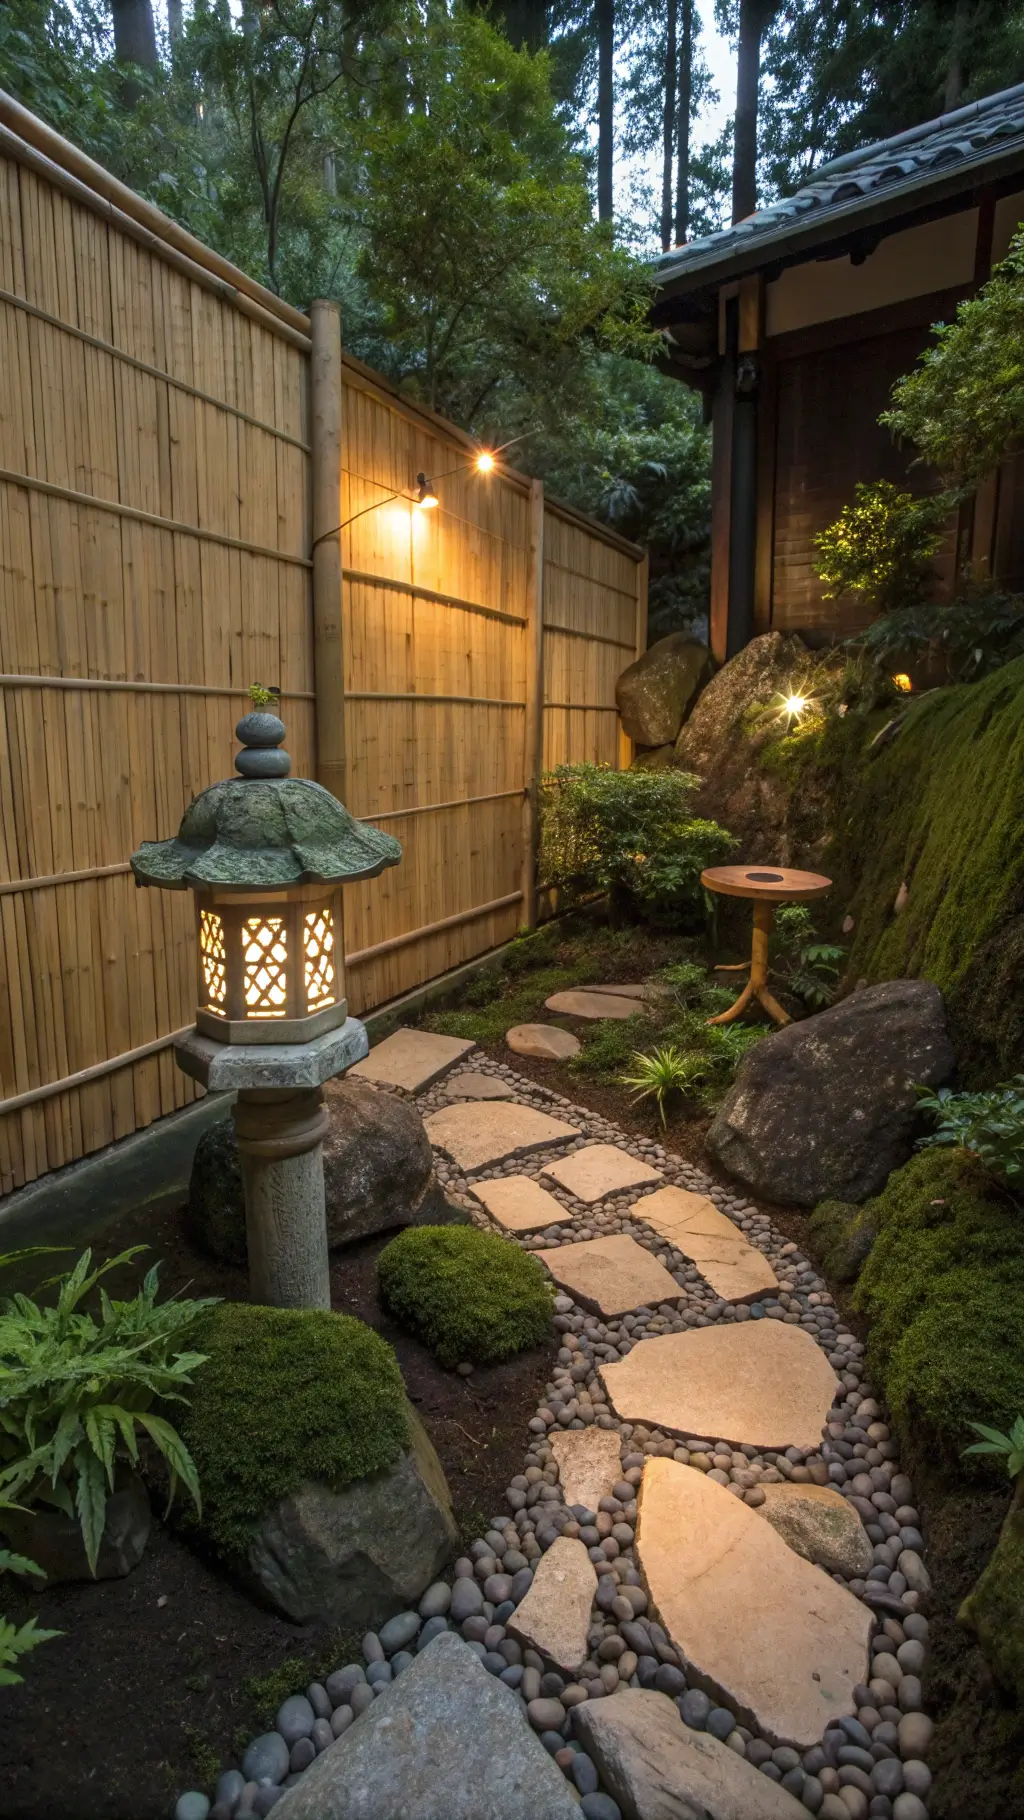
- Patina-covered lanterns (thrift stores are goldmines for these)
- Irregular stepping stones
- Old metal tools or containers
- Simple stone or wood benches
The Secret Sauce: Imperfect Accessories
This is where you can really have fun.
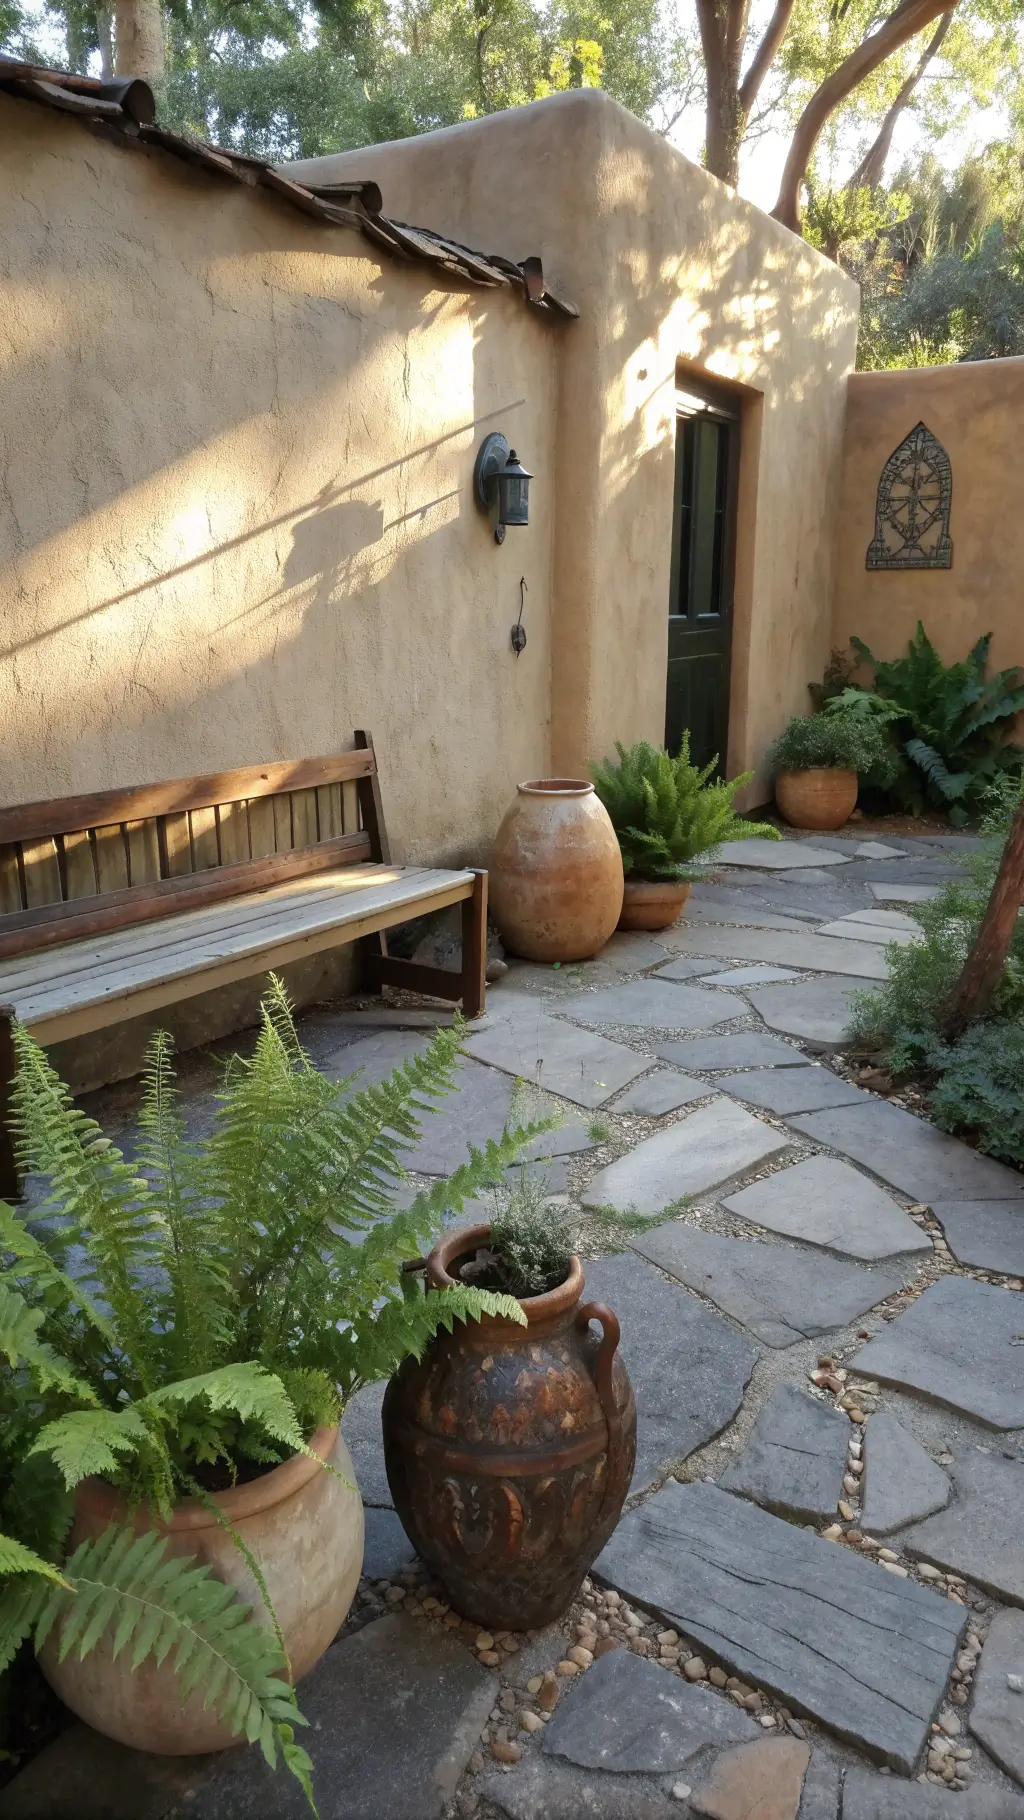
- Cracked ceramic pots? Display them proudly.
- Rusty watering cans? Feature material right there.
- Weathered bowls? Fill with rainwater or pebbles.
Creating Your Wabi-Sabi Garden Layout
Step 1: Embrace What You’ve Got
Start by looking at your space with fresh eyes.
That bare patch where grass won’t grow?
Perfect spot for a moss garden.
The corner where leaves always collect?
Leave them – they’re adding texture and nutrients.
Step 2: Place Your Anchor Pieces
Big stones first – but don’t line them up like soldiers.
Think odd numbers and natural groupings.
I spent an entire afternoon just moving three rocks around until they “felt” right.
Add your aged wood elements next.
Let them lean, tilt, or partially bury themselves.
Nothing should look placed – even though you totally placed it.
Step 3: Layer in Living Elements
Native plants are your best friends here.
They already know how to thrive without fussing.
Some winning combinations I’ve discovered:
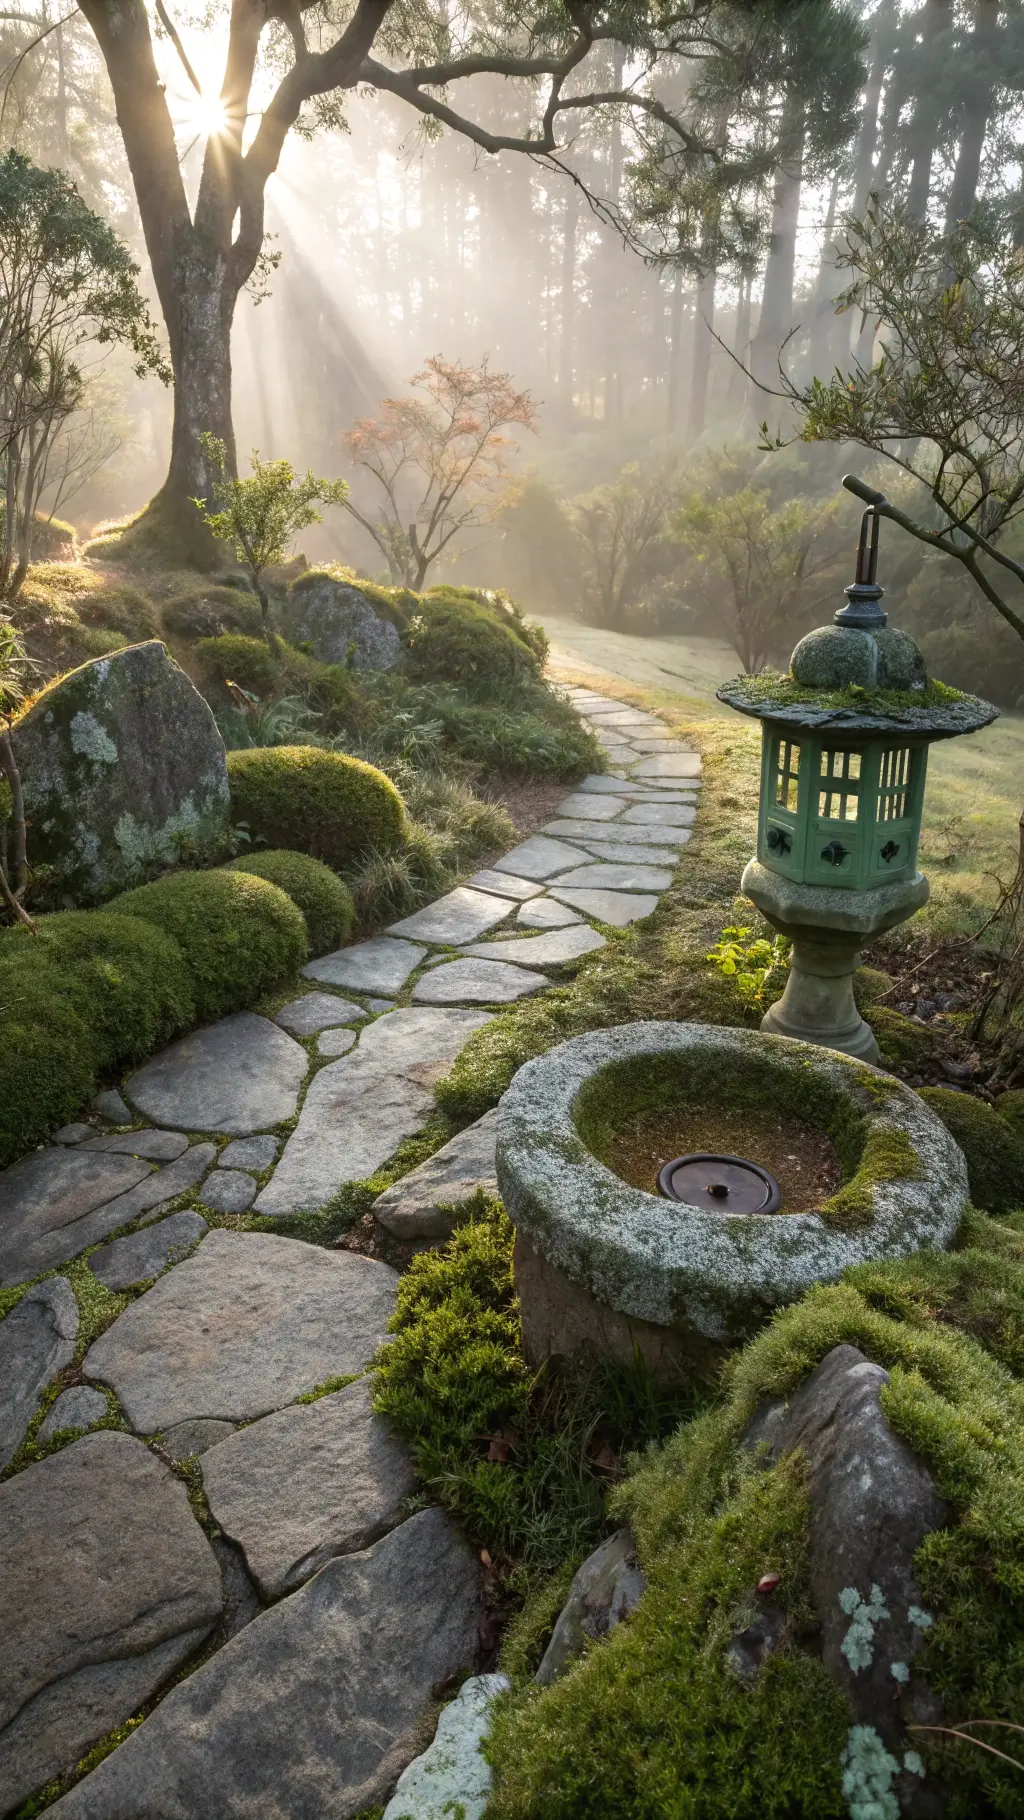
- Ferns + moss + weathered stones
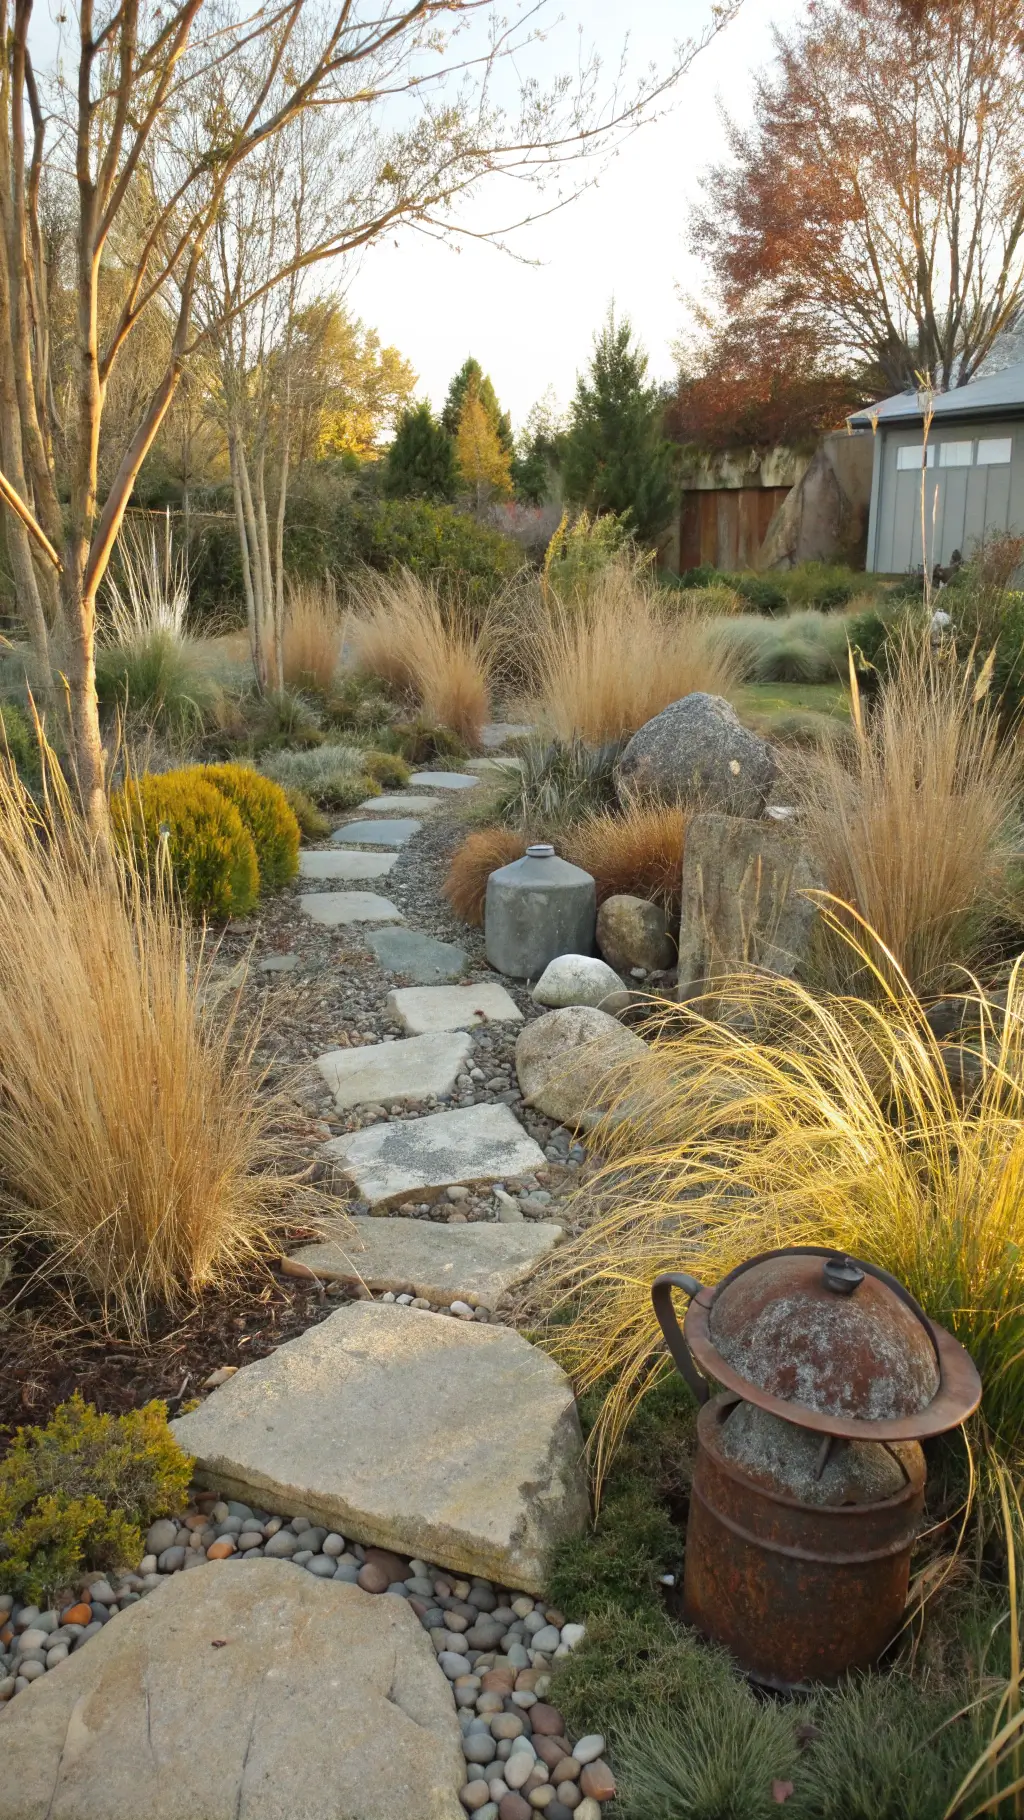
- Ornamental grasses + driftwood + pebbles
- Ground covers + fallen branches + ceramic shards
<img src="https://clothandrustic.com/wp-content/uploads/2025/09/1652frosty-contemplation-garden-autumn.webp" alt=""Contemplation garden during autumn morning featuring frost-touched ornamental grasses, earthenware vessels with crackling glaze, and a stone fire bowl with patina against an aged wooden fence, in colors of wheat, rust,


