Why Your Outdoor Space is Currently Wasting Your Home’s Potential
Outdoor patio design doesn’t have to drain your wallet or require professional help.
I’m talking about turning that sad concrete slab or patchy grass into the spot where everyone wants to hang out.
The place where your morning coffee tastes better and Friday nights feel like a vacation.
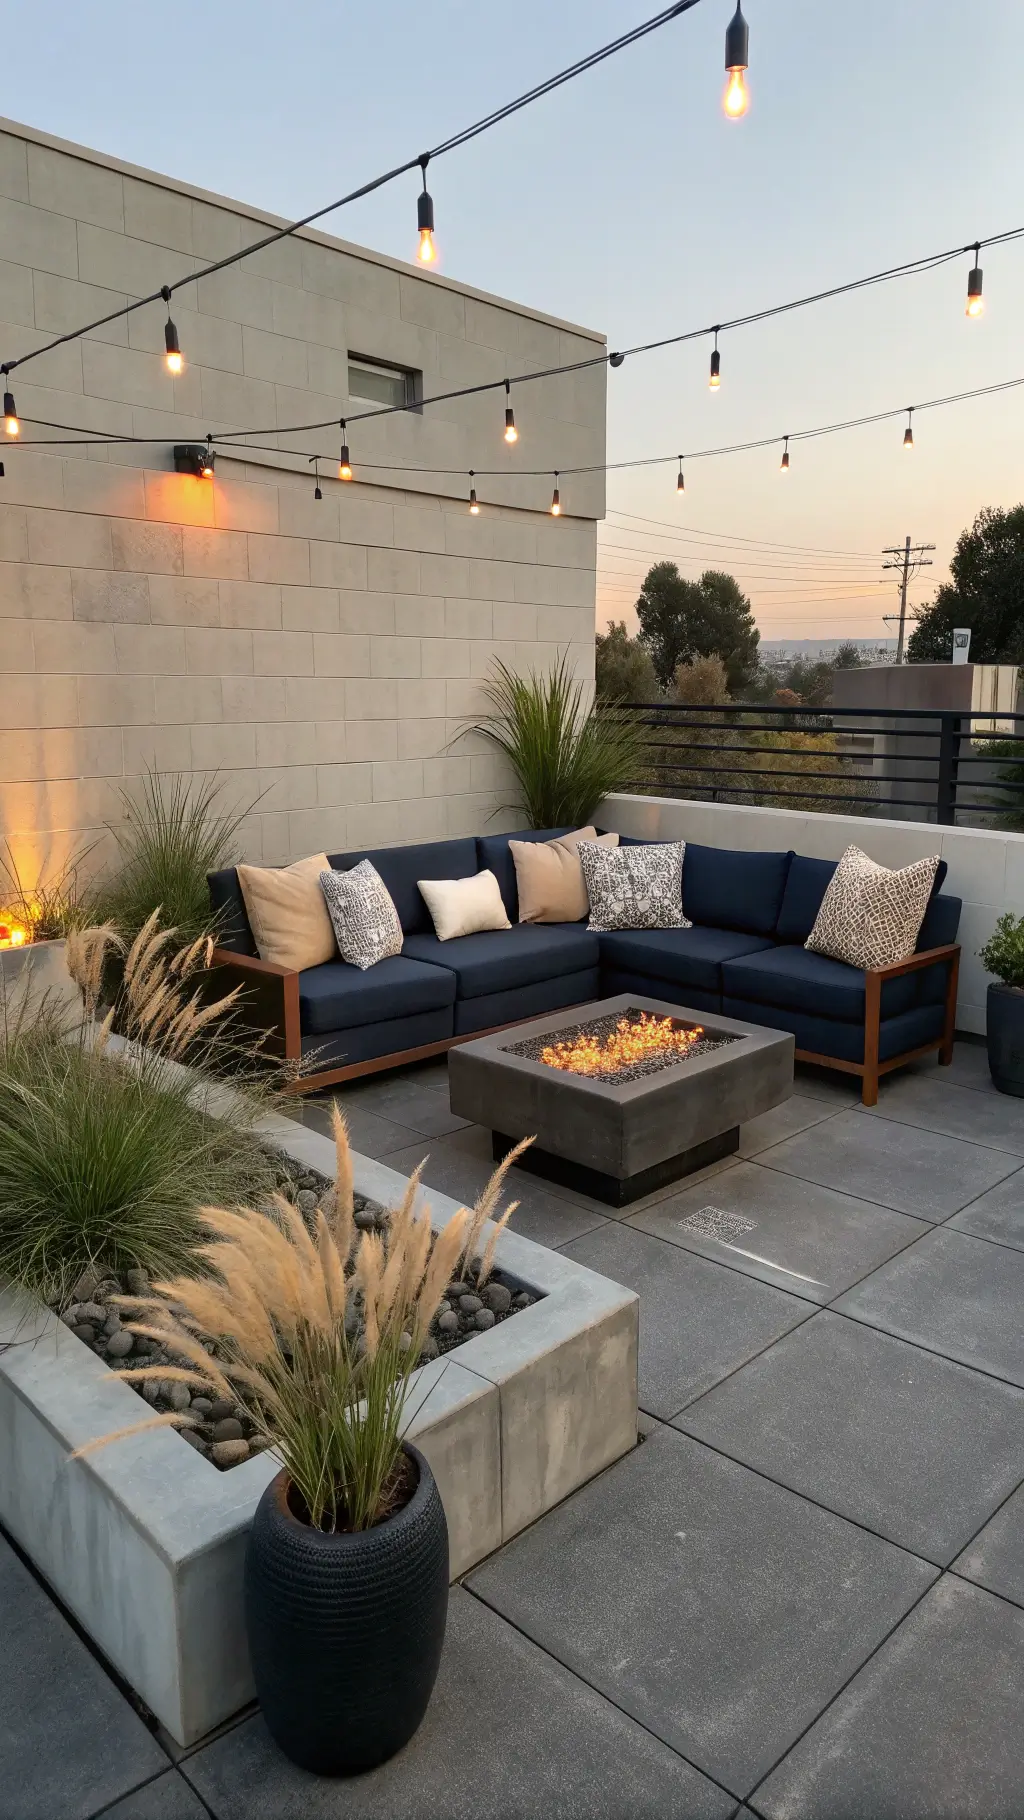
🎨 Steal This Look
- Paint Color: Sherwin-Williams Tricorn Black SW 6258
- Furniture: Modular outdoor sectional with weathered teak frames and deep charcoal cushions, paired with a concrete-top fire pit table
- Lighting: Commercial-grade string lights with Edison bulbs suspended on black cable between anchored poles
- Materials: Raw concrete, FSC-certified teak, powder-coated aluminum, performance acrylic fabrics, crushed granite base layer
I’ve seen too many homeowners apologize for their ‘boring’ backyard when the real issue was simply undefined edges—once you establish a clear footprint with material changes or low planters, the whole space suddenly feels designed rather than leftover.
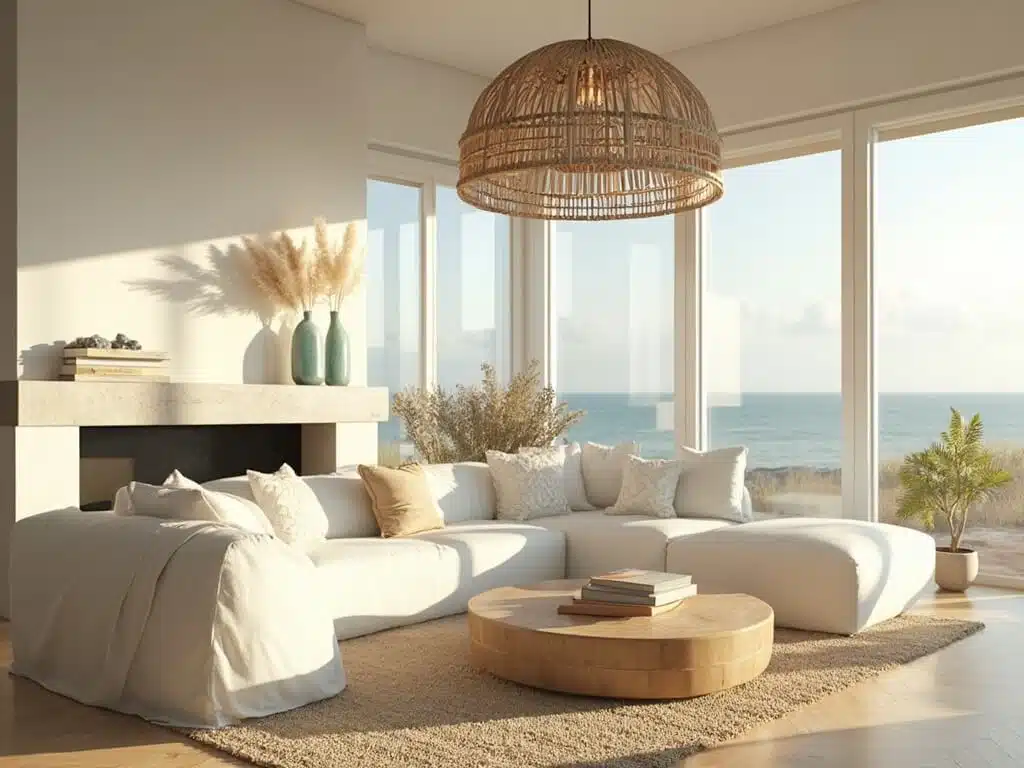
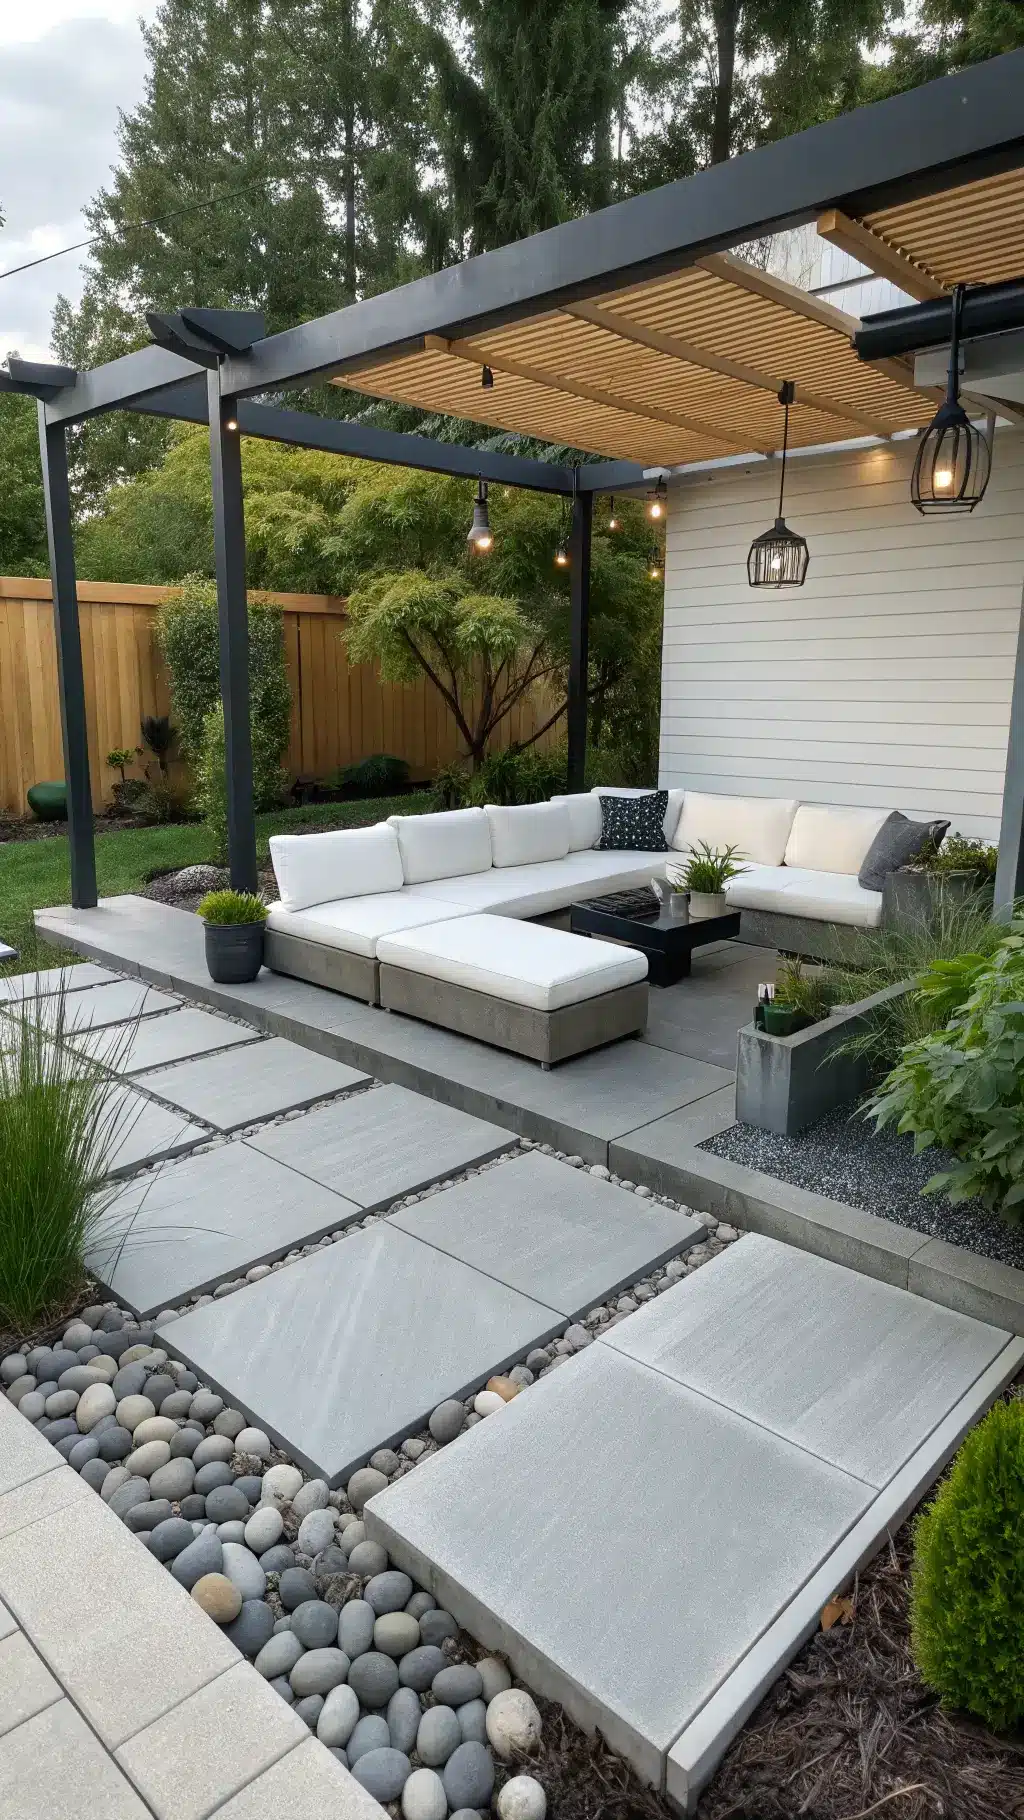
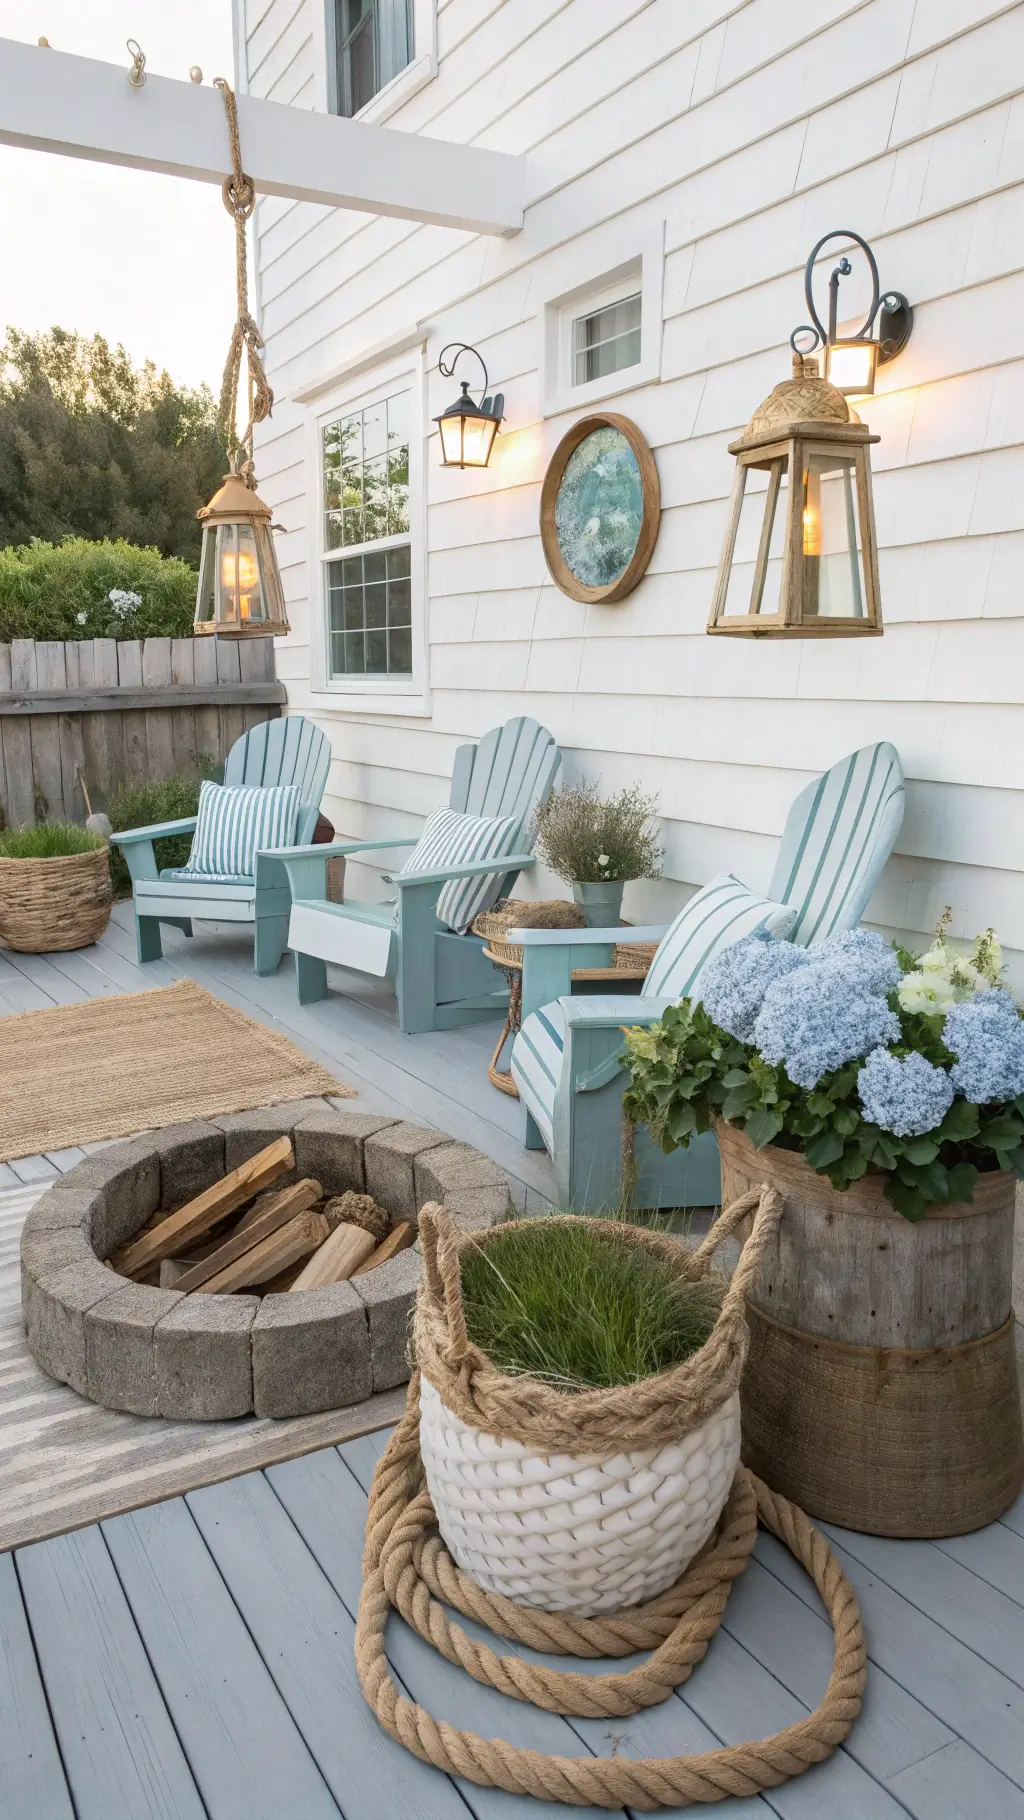
The Foundation Pieces That Actually Matter
Let me save you from my biggest rookie mistake: buying cute decorations before establishing the basics.
![]()
Start With These (In This Order)
Your sitting situation: This is where you’ll actually spend time, so don’t cheap out entirely here.
Something overhead: Direct sun gets old fast, trust me.
The floor situation: Your foundation completely changes the vibe.
Fire element: This changed everything about how often I actually used my patio.
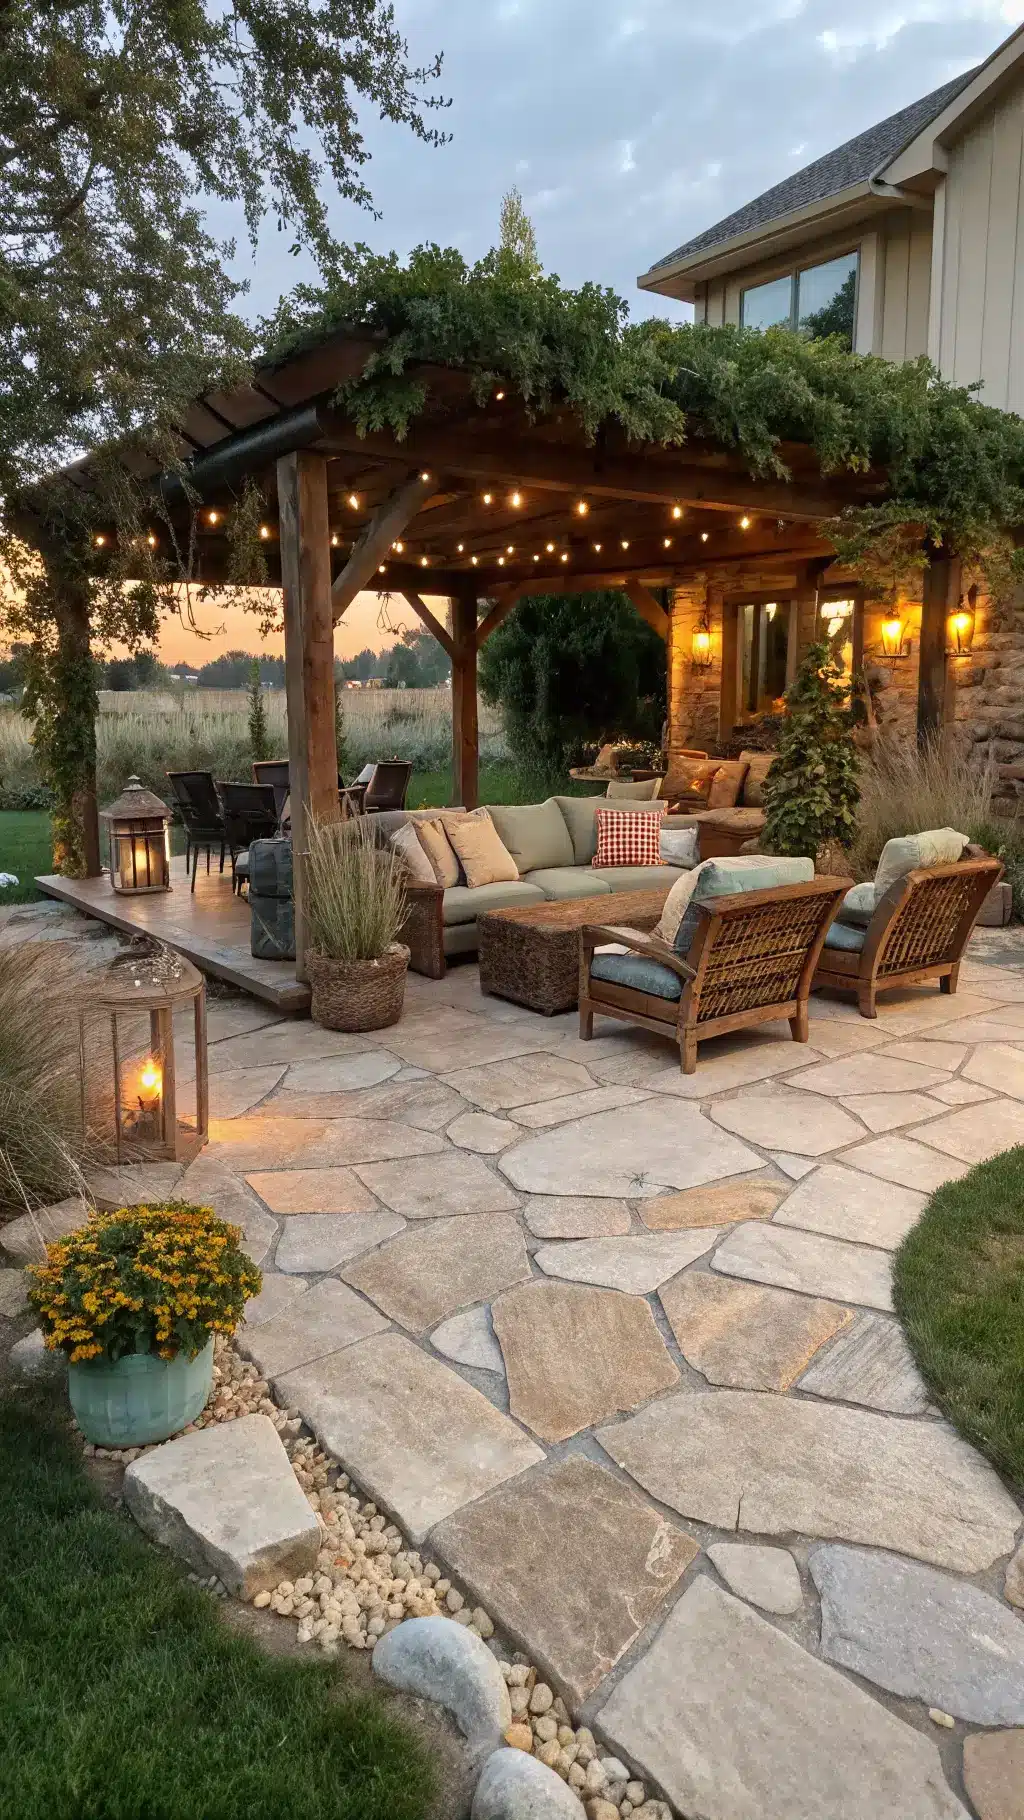
🌟 Steal This Look
- Paint Color: Benjamin Moore Kendall Charcoal HC-166
- Furniture: Weathered teak deep-seating sectional with quick-dry foam cushions in a warm oatmeal or charcoal Sunbrella fabric
- Lighting: Hardwired exterior pendant in oil-rubbed bronze or matte black with seeded glass shade for covered patio areas, or solar-integrated LED string lights with Edison bulbs for open structures
- Materials: FSC-certified teak, powder-coated aluminum frames, solution-dyed acrylic performance fabrics, natural stone pavers or porcelain tile flooring, corten steel or cast concrete fire pit
I learned this the hard way after three summers of wobbly folding chairs and a patio I avoided at noon—once I committed to proper deep seating and a cantilever umbrella, my patio became actual living space, not just a staging area for plants.
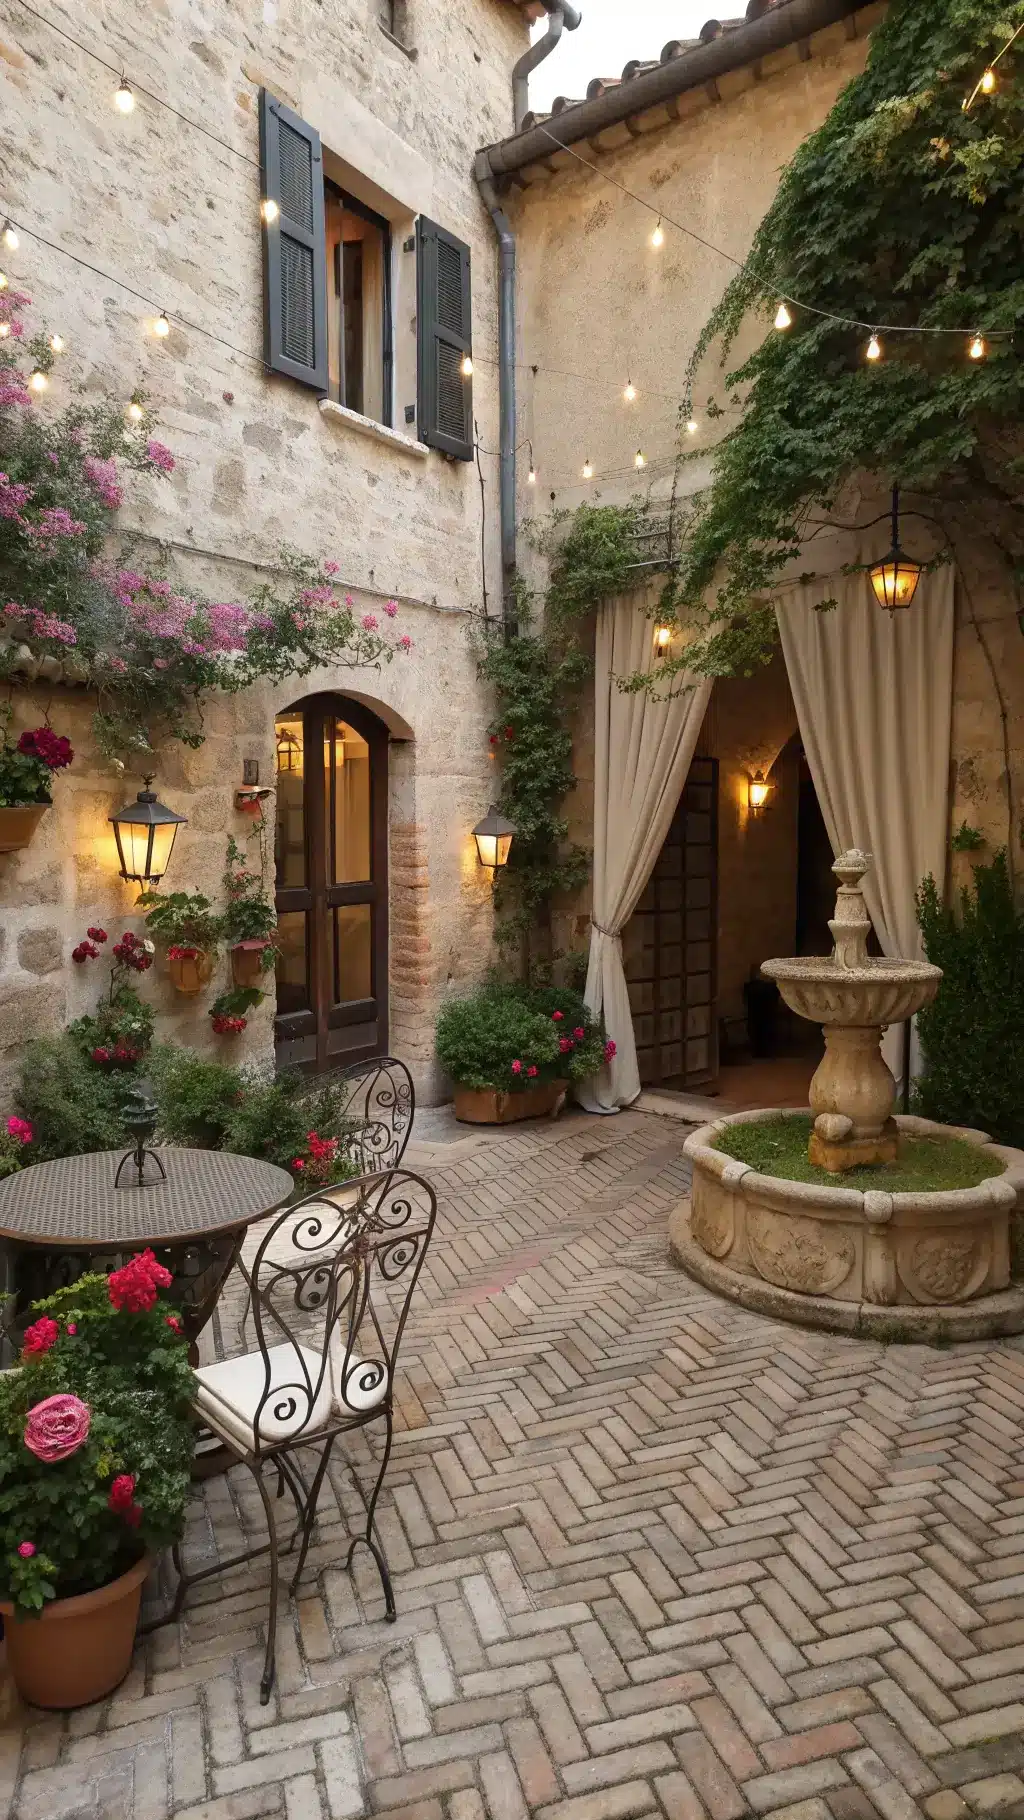
Making It Actually Look Good (Not Just Functional)
Okay, this is where the magic happens. Anyone can throw furniture outside. Making it feel intentional and designed? That takes some strategy.
Layering is Your Secret Weapon
Layer 1 – Your Base: Foundation (pavers, deck, gravel) + largest furniture pieces
Layer 2 – Mid-Level Interest: Potted plants, side tables, plant stands
Layer 3 – Details That Pop: Throw pillows, cushions, lanterns
Lighting Makes or Breaks the Vibe
My must-have combo: string lights, solar lights, flameless candles, wall sconces.
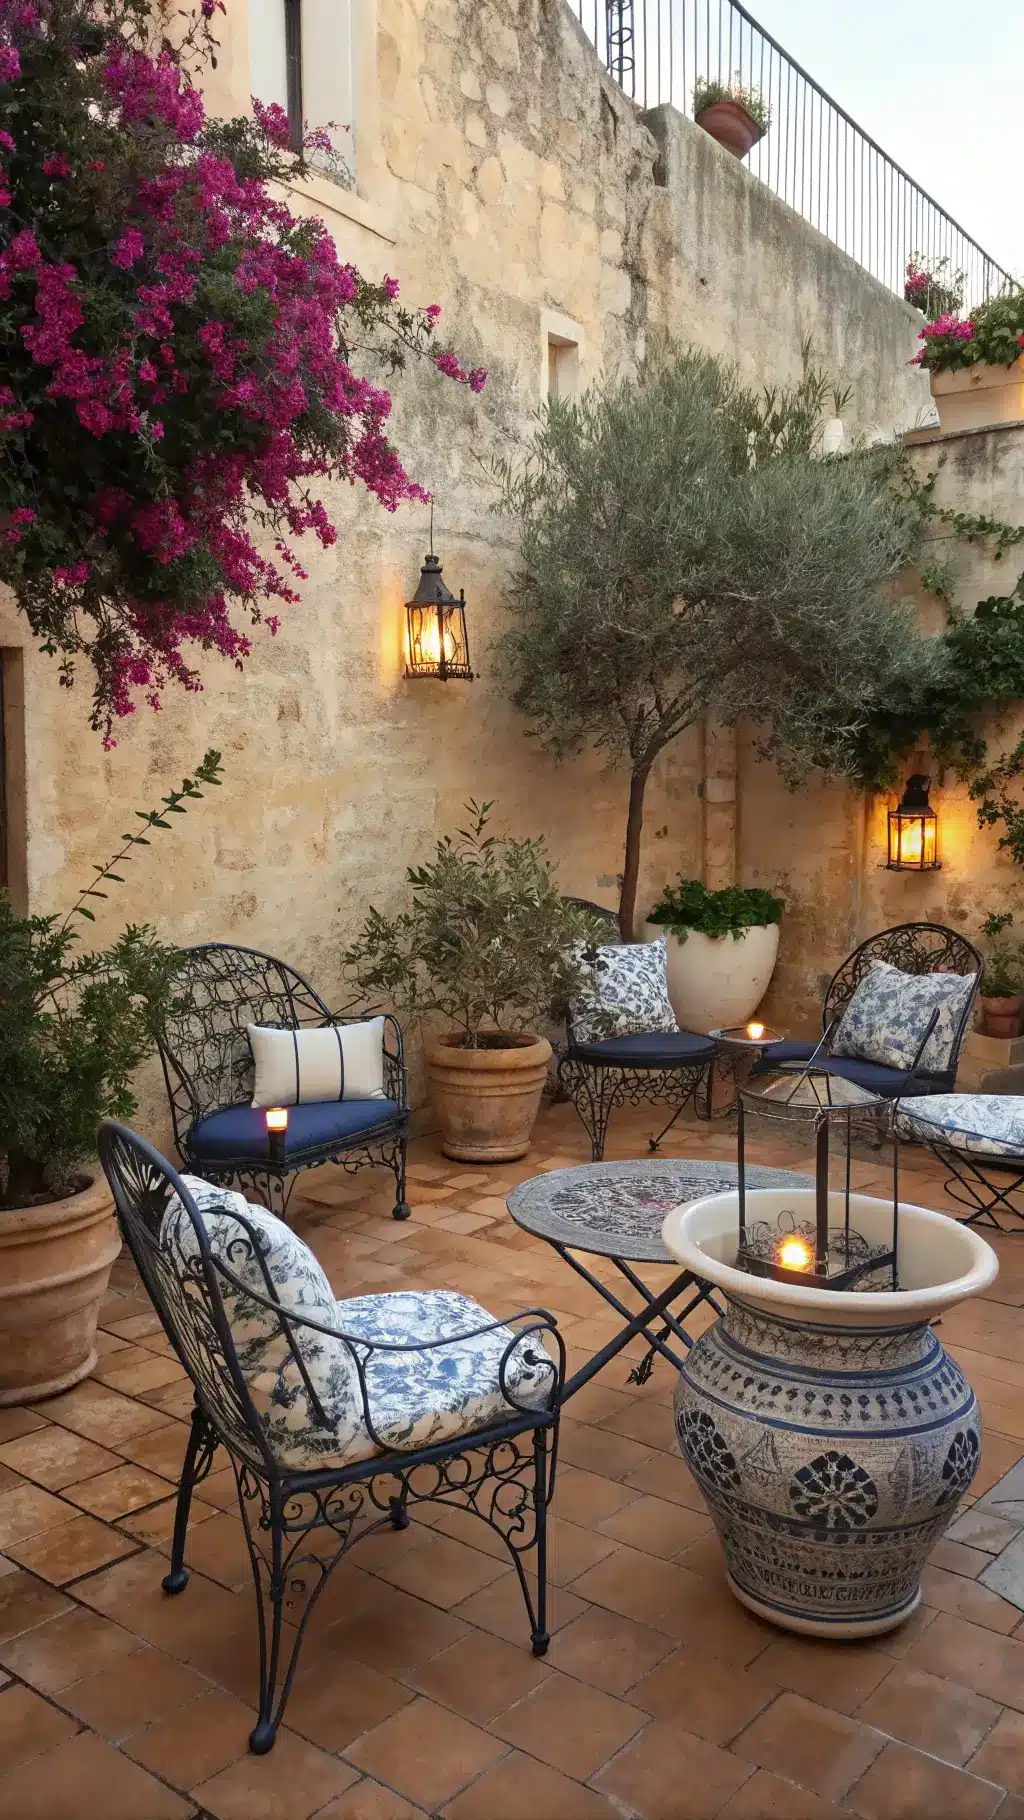
The Plant Situation
My foolproof approach: Mix heights, use odd numbers, choose self-watering planters, add hanging plants.
🖼 Steal This Look
- Paint Color: Farrow & Ball French Gray 18 — for painted exterior walls or furniture in covered patio spaces, this muted sage-gray bridges natural and refined
- Furniture: weathered teak or eucalyptus dining set with clean lines; woven rope or all-weather wicker lounge chairs with high backs for vertical interest
- Lighting: warm white LED string lights with black cable; solar-powered pathway stake lights in aged bronze finish; flameless flickering candles in glass hurricanes
- Materials: natural fiber outdoor rugs (jute-look polypropylene), terracotta and glazed ceramic planters, powder-coated aluminum frames, solution-dyed acrylic cushions
I’ve walked onto too many patios that feel like storage units for outdoor furniture—this approach of building in three distinct layers transformed my own narrow side yard into the space where we actually want to linger after dinner.
Actually Building This Thing (The Scary Part Made Simple)
My First DIY Paver Patio (The Real Story)
Weekend-by-weekend breakdown of building a paver patio without hiring help.
Easier Projects If That Sounds Terrifying
Gravel lounge area, stepping stone path, deck tile overlay—simple and renter-friendly options.
🌟 Steal This Look
- Paint Color: Not applicable for outdoor paver patio construction
- Furniture: Modular outdoor seating with weather-resistant frames, portable fire pit for gravel lounge areas, folding Adirondack chairs for flexible arrangements
- Lighting: Solar path lights for stepping stone walkways, string lights with guide wire for overhead coverage, battery-operated LED lanterns for renter-friendly installation
- Materials: Concrete pavers in varied earth tones, crushed limestone base, polymeric sand joints, composite deck tiles for overlay projects, pea gravel in warm tan or gray, pressure-treated 2×4 edging, landscape fabric
I built my first paver patio over three weekends with borrowed tools and YouTube tutorials, and the pride of hosting dinner on something I leveled myself still beats any store-bought furniture.
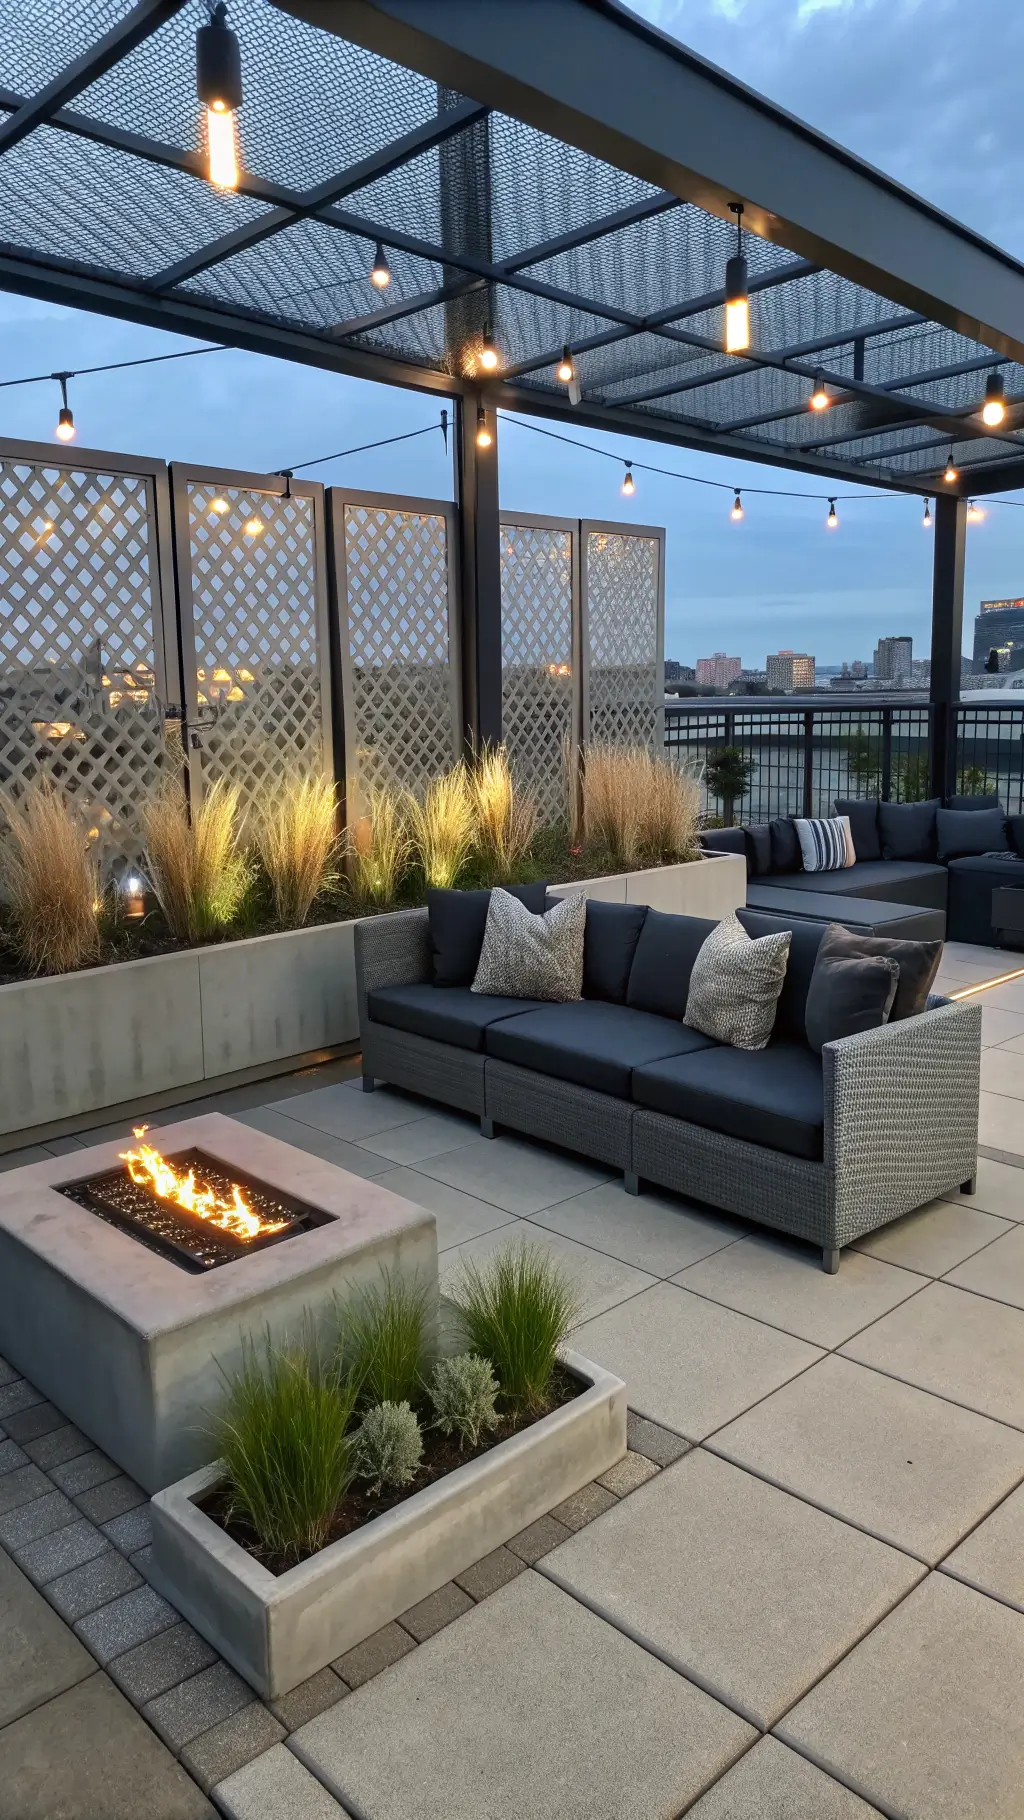
Creating Zones (Because Your Patio Isn’t Just One Thing)
Dining area, lounging corner, fire pit gathering—how to make your space work harder.

★ Steal This Look
- Paint Color: Valspar Crushed Out 5007-1B for clean, bright outdoor furniture refresh; Valspar Garden Gate 5006-2C for moody accent walls or pergola ceilings
- Furniture: Modular outdoor sectional with weather-resistant cushions, expandable aluminum dining table with stackable chairs, circular concrete fire pit with built-in seating ledge
- Lighting: String lights overhead for ambient canopy, solar path markers defining zone boundaries, battery-operated table lanterns for dining and fire pit areas
- Materials: Powder-coated aluminum frames, solution-dyed acrylic fabrics, sealed concrete pavers, natural teak accents, weathered composite decking
I always tell clients to walk their patio at different times of day before committing to layouts—morning coffee spots need different light than sunset fire pit corners, and your zones should follow how you actually live outside.
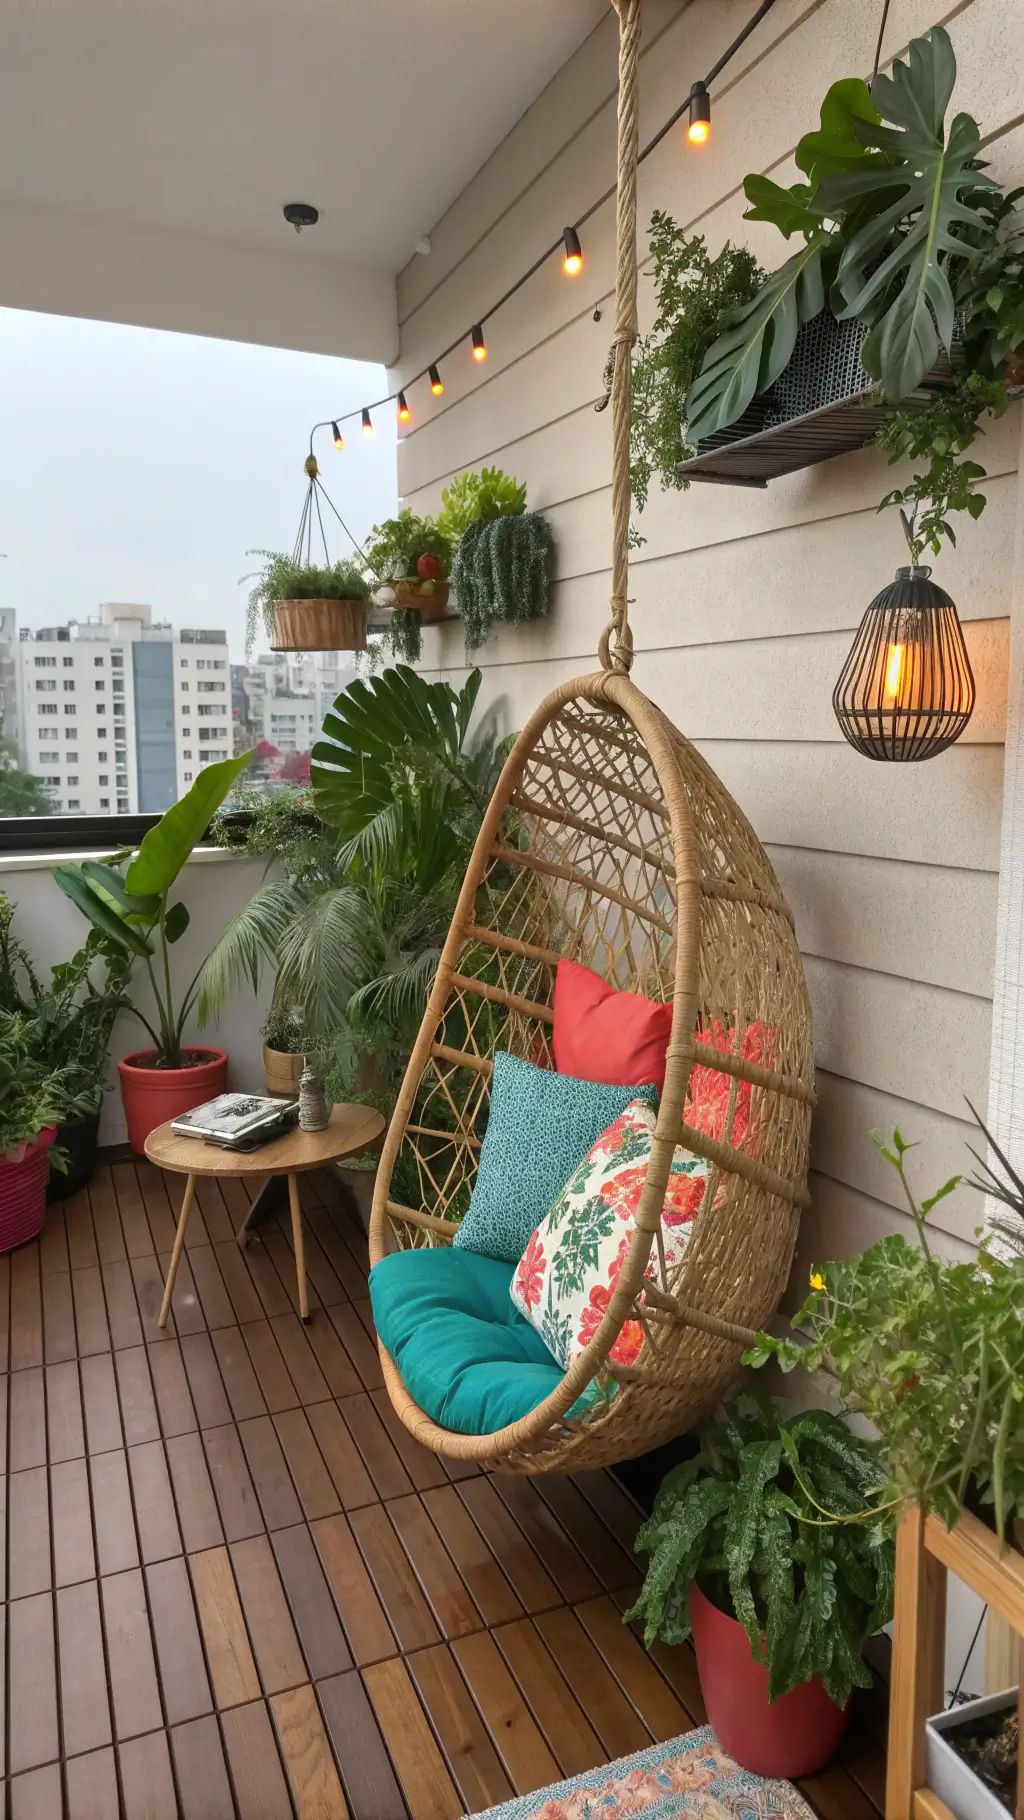
Small Space Solutions (Because Not Everyone Has a Backyard)
Vertical planters, folding furniture, mirrors, and light colors to maximize even the tiniest balconies.
🖼 Steal This Look
- Paint Color: PPG Delicate White PPG1001-1
- Furniture: folding bistro sets, wall-mounted drop-leaf tables, stackable resin chairs, vertical garden towers
- Lighting: solar-powered string lights with small clips, battery-operated LED sconces, compact rechargeable lanterns
- Materials: weather-resistant resin wicker, powder-coated aluminum, tempered glass tabletops, breathable outdoor fabrics in pale tones
I once transformed a 6×4 foot city balcony into a morning coffee retreat using just a folding table and a vertical herb garden—proof that square footage is never the real limit.
Keeping This Beautiful Without Constant Work
Outdoor fabrics, deck box storage, furniture covers, and quick daily habits to maintain beauty with minimal effort.
Seasonal Refresh Strategy (Stay Excited All Year)
Swap pillows, add seasonal plants, adjust lighting—cheap and cheerful ways to keep your patio feeling fresh.
Budget Breakdowns (What I Actually Spent)
Honest cost breakdowns from small balcony to full backyard dream setup.
The Mistakes I Made (So You Don’t Have To)
Drainage, cheap furniture, too many styles, wind issues, and lack of planning—learn from my missteps.
Making It Truly Yours
Function over form, comfort first, personal touches, and flexibility—your outdoor space should reflect your real life, not just Pinterest boards.
Your Actual Next Steps
Measure, prioritize, budget, and start with the foundation. Then build layer by layer. Adjust and evolve as you live with it.
Your outdoor space is waiting. It doesn’t have to be perfect. It just has to be yours.