Why Your Attic Is Actually a Hidden Gem
Most people look at their attics and see problems.
I see possibilities.
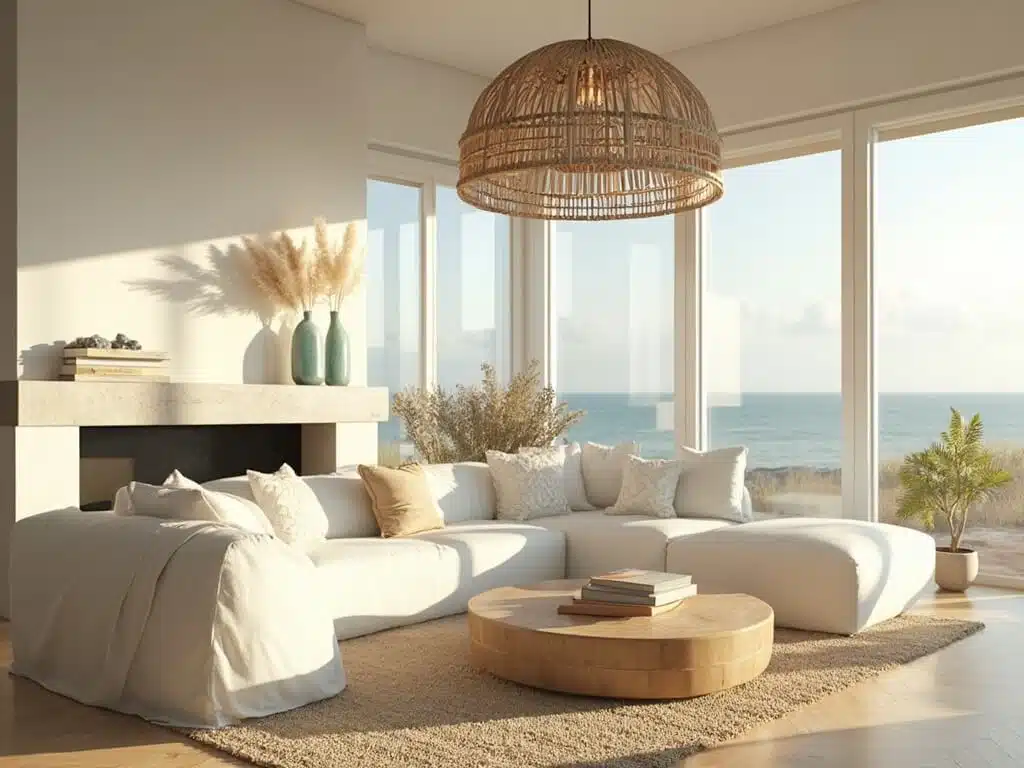
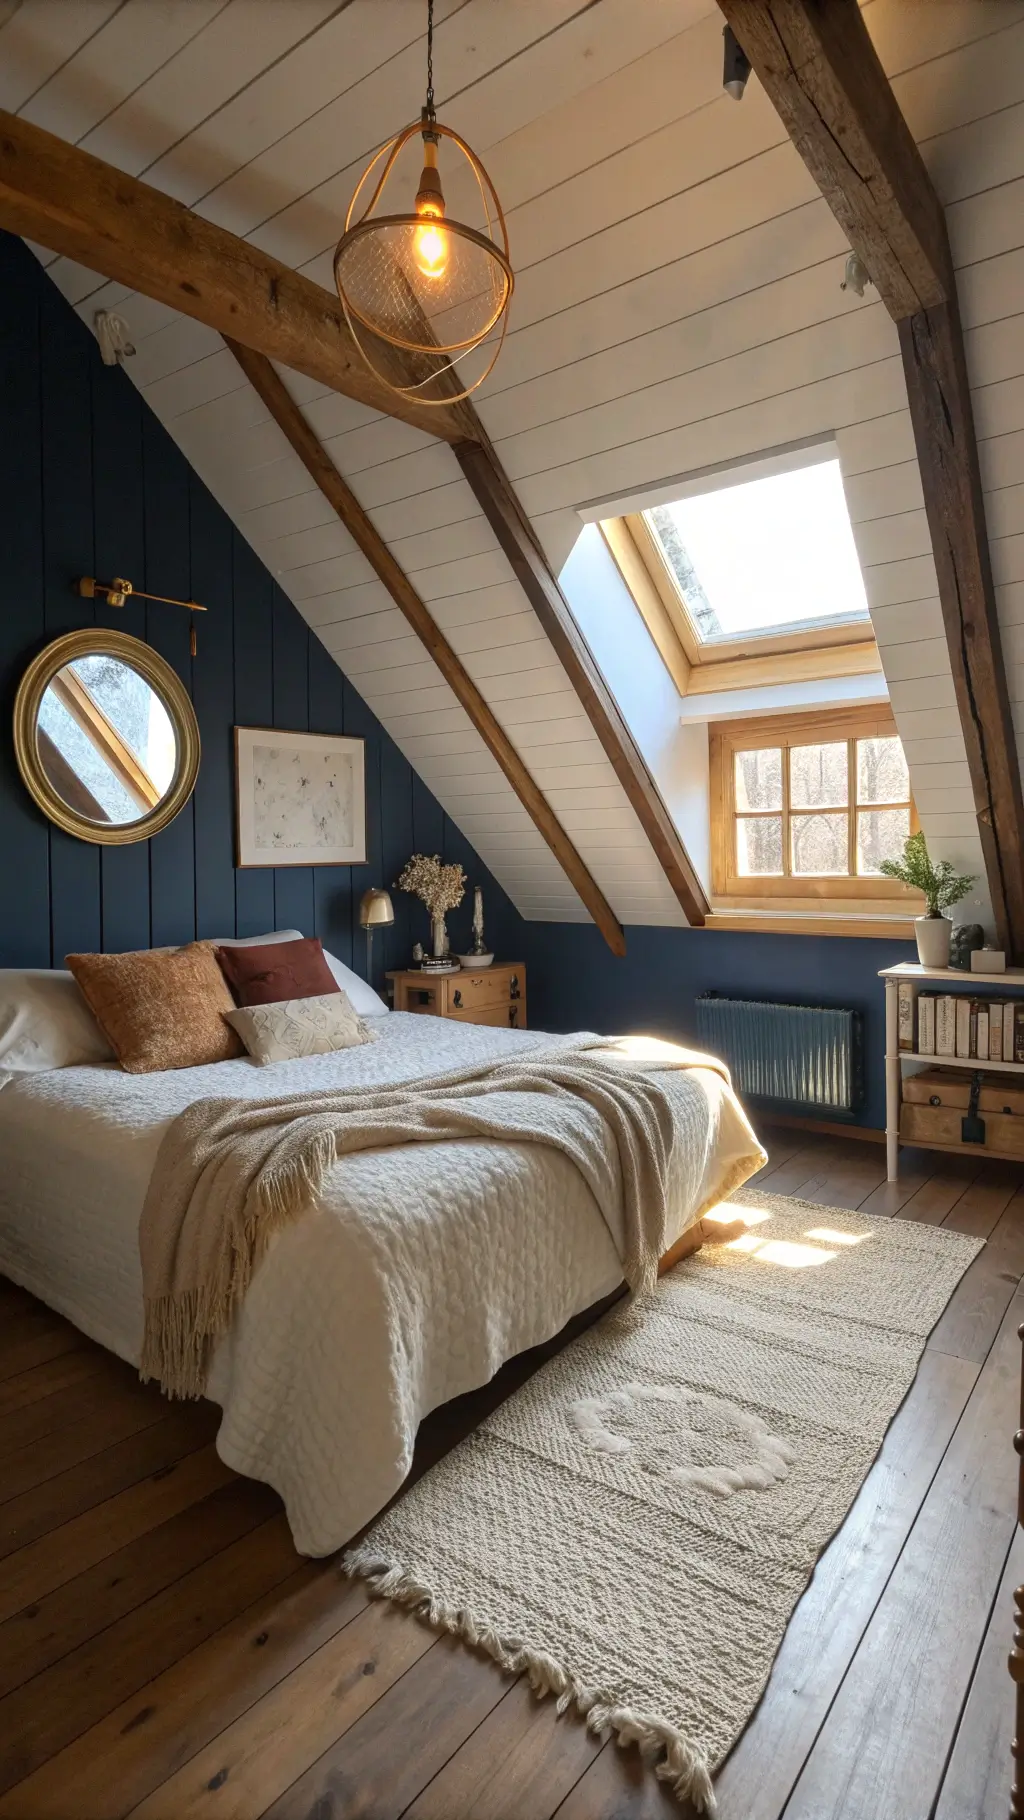
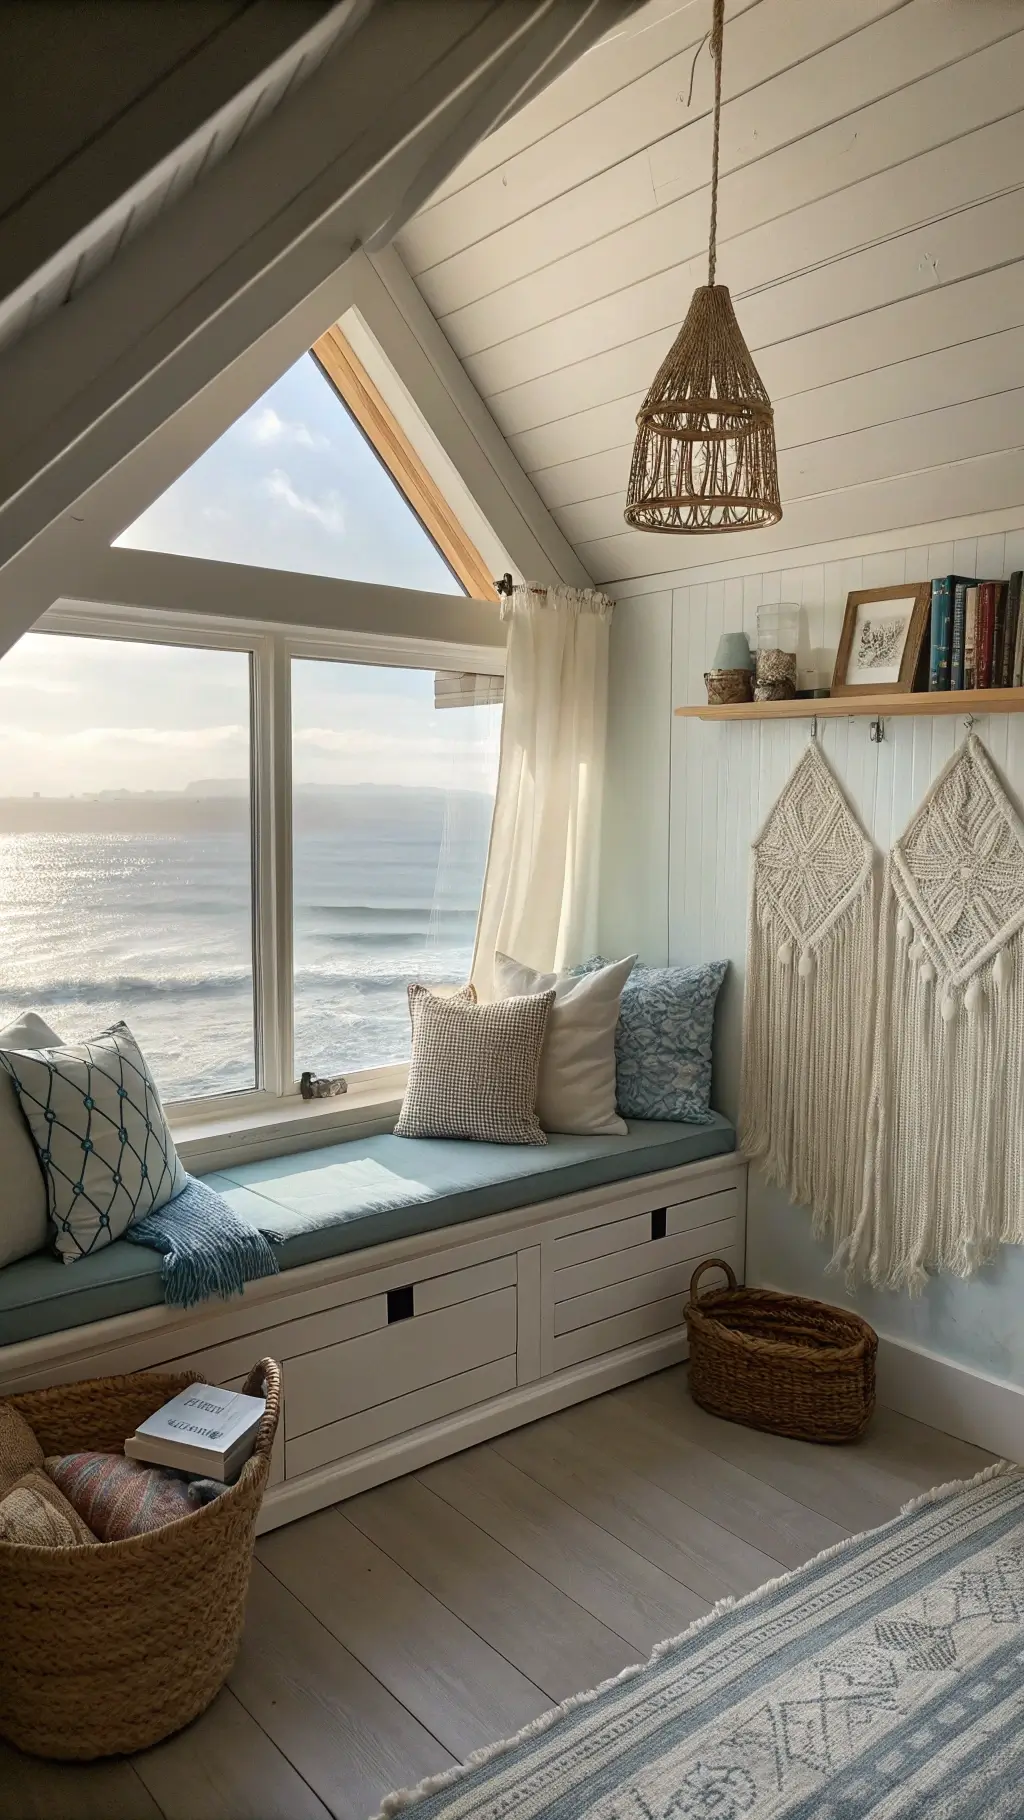
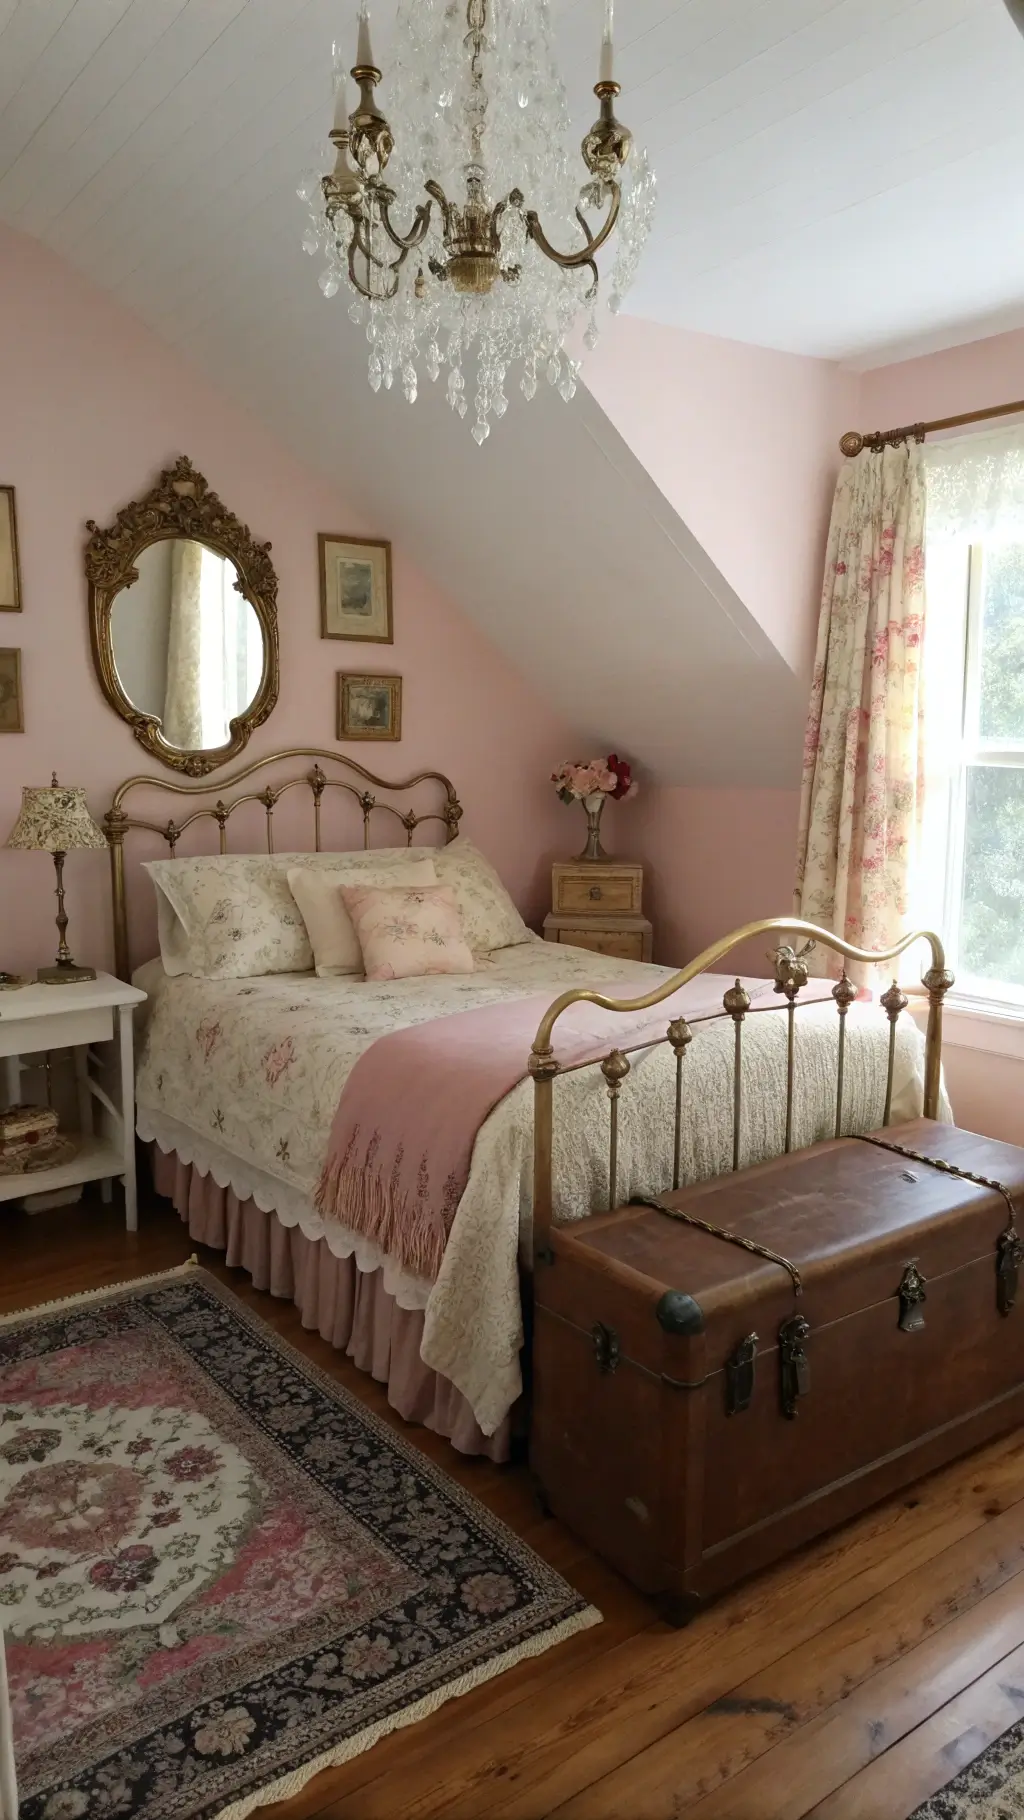
Those sloped ceilings everyone complains about? They create the most amazing cozy nooks.
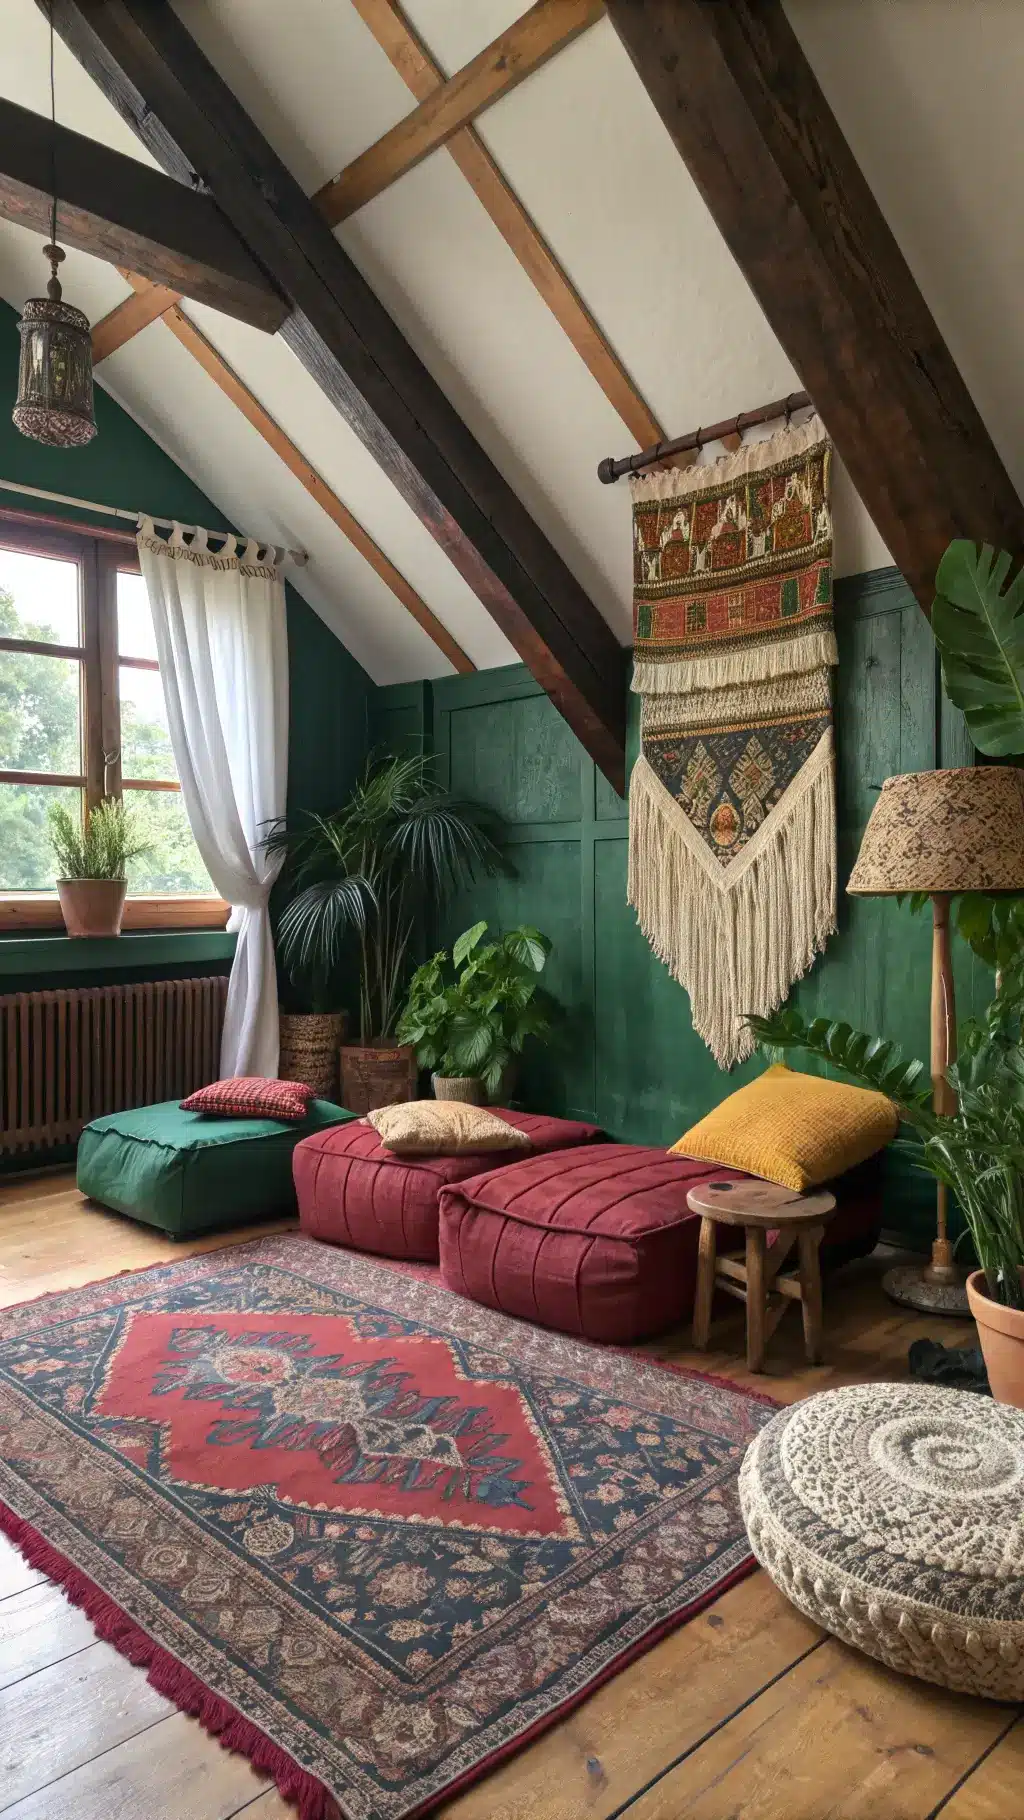
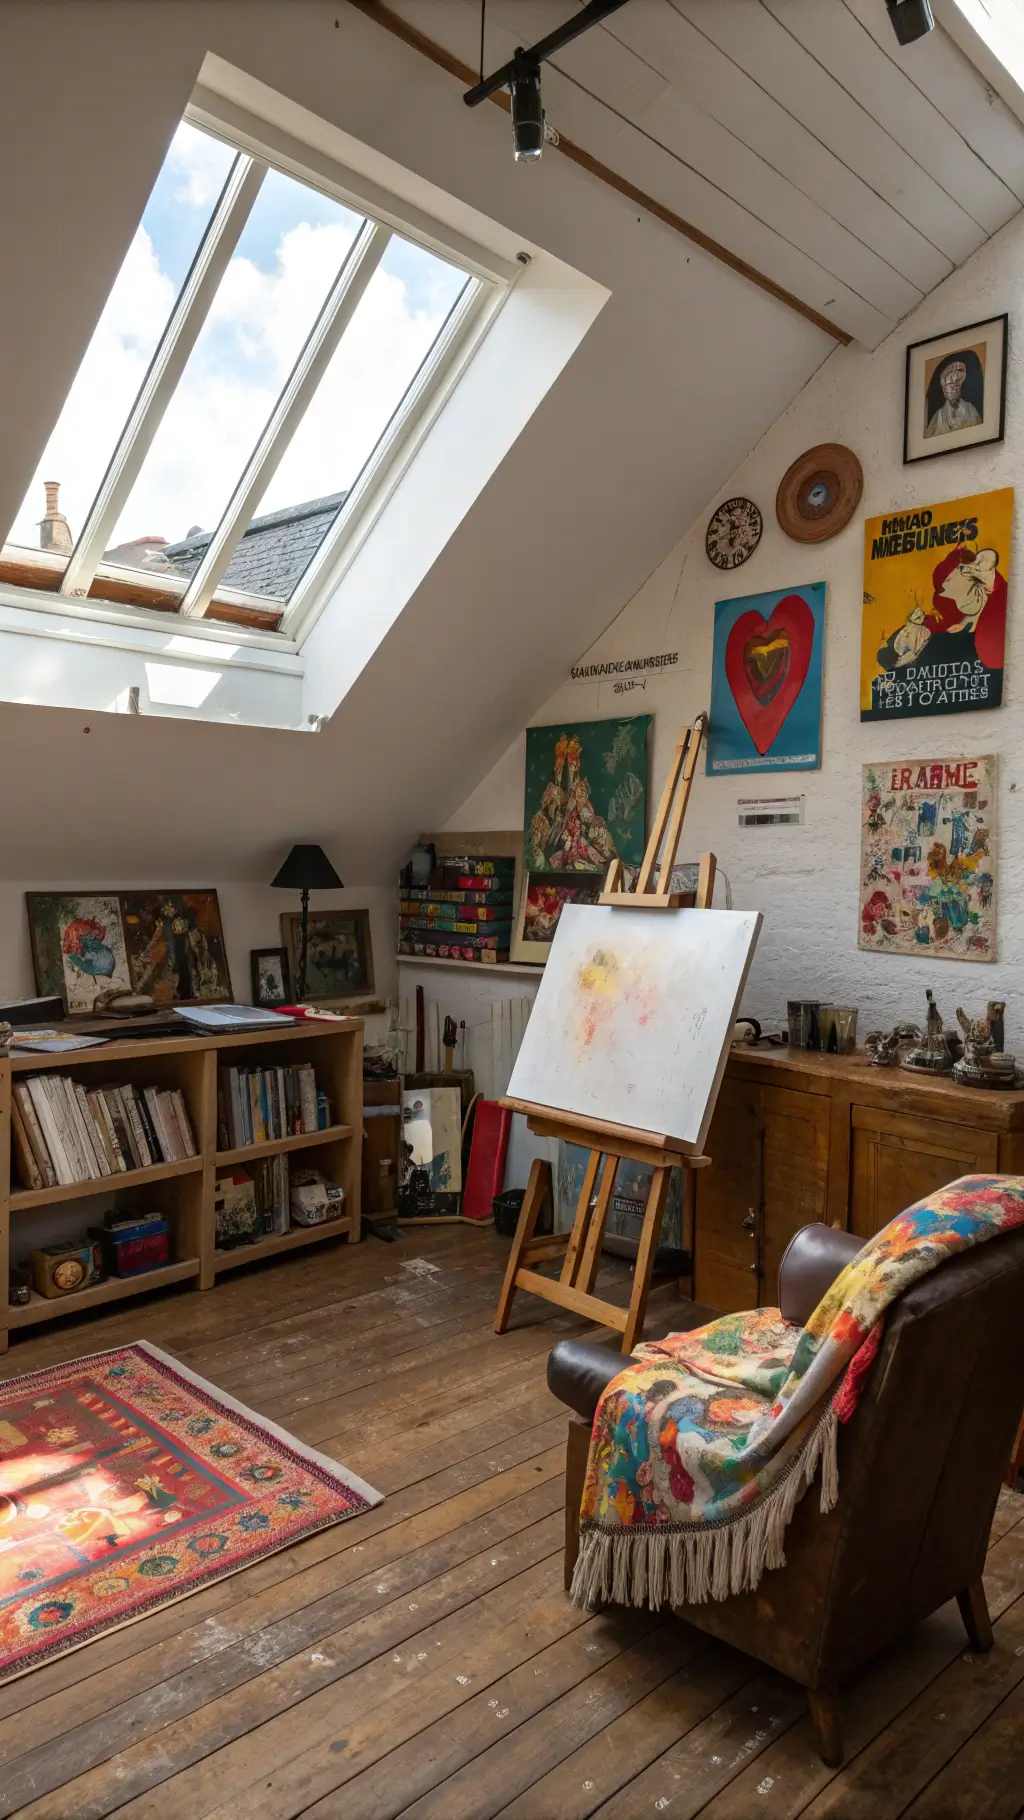
That exposed beam you thought was ugly? It’s literally the rustic charm people pay designers thousands of dollars to recreate.
What You’re Really Looking At (Time, Money, Skills)
Let me break down the real numbers, because nobody likes surprises when they’re halfway through a project.
- Time commitment: Plan on 4-8 weeks if you’re doing structural stuff like adding windows or building custom storage. Just styling and decorating? You can knock that out in a weekend.
- Budget reality check: $300–$15,000+ depending on scope
- Skill level: If you can hang pictures and assemble IKEA furniture without a meltdown, you’re good
Getting Your Head Right About Attic Spaces
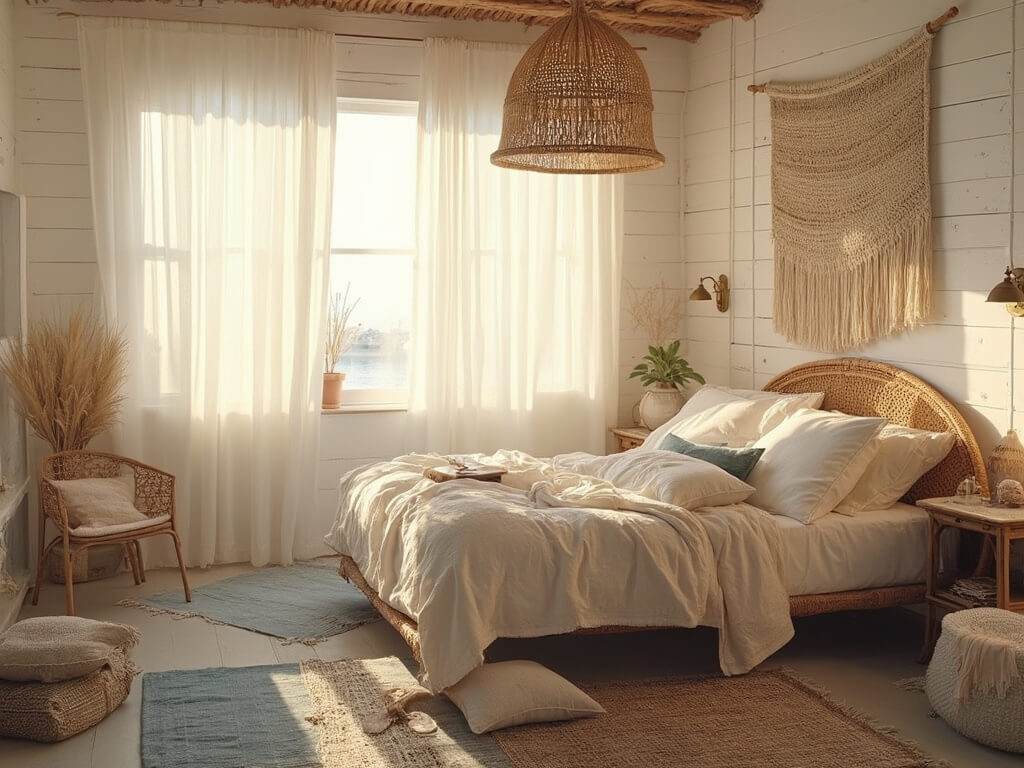
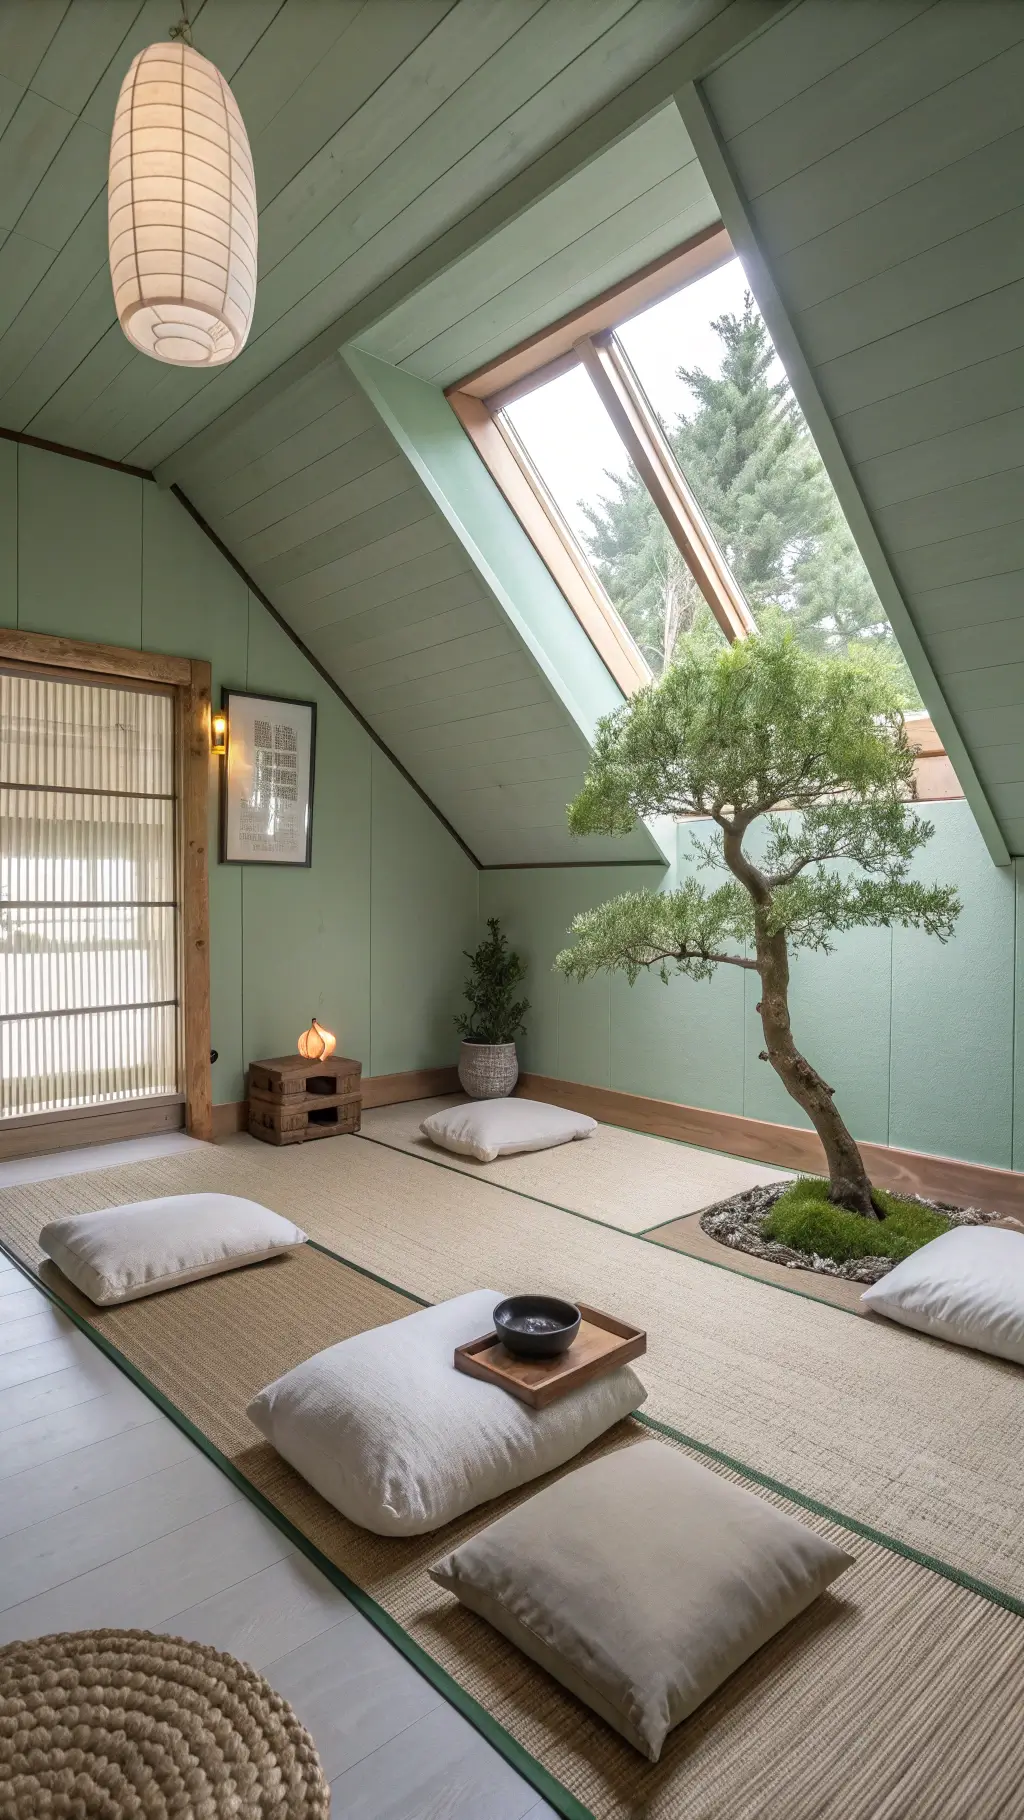
Attic rooms have their own vibe, and fighting against it is pointless.
The key is embracing what makes them weird instead of trying to make them look like a normal bedroom.
The Non-Negotiable Stuff You Need
The Big Players
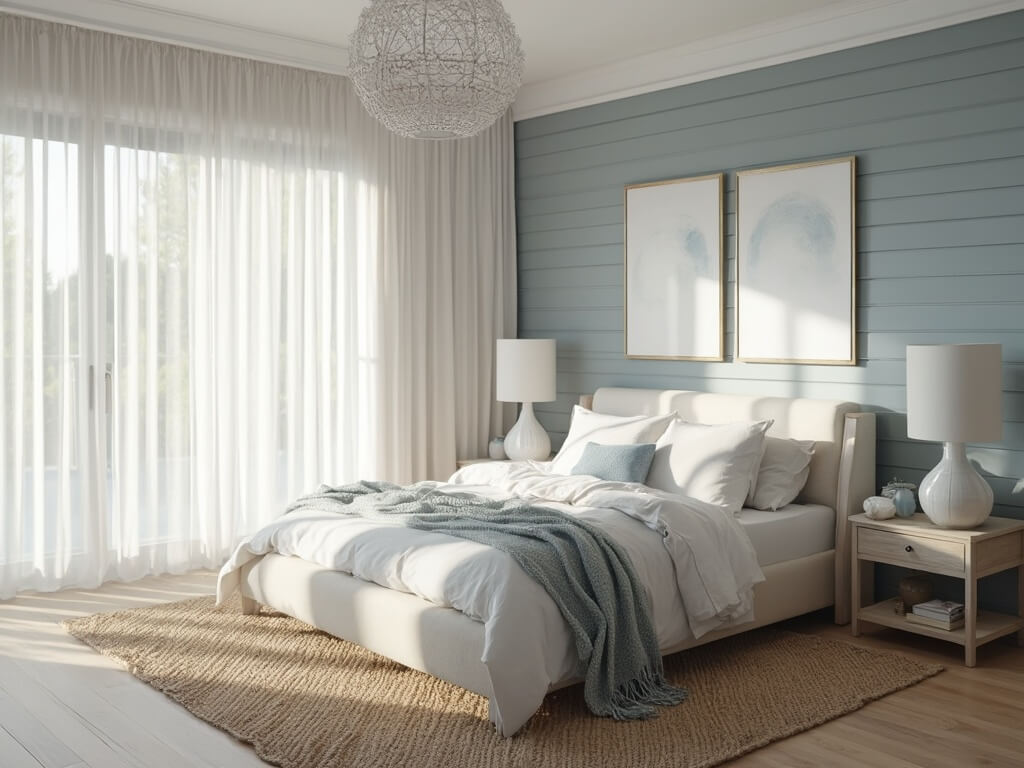
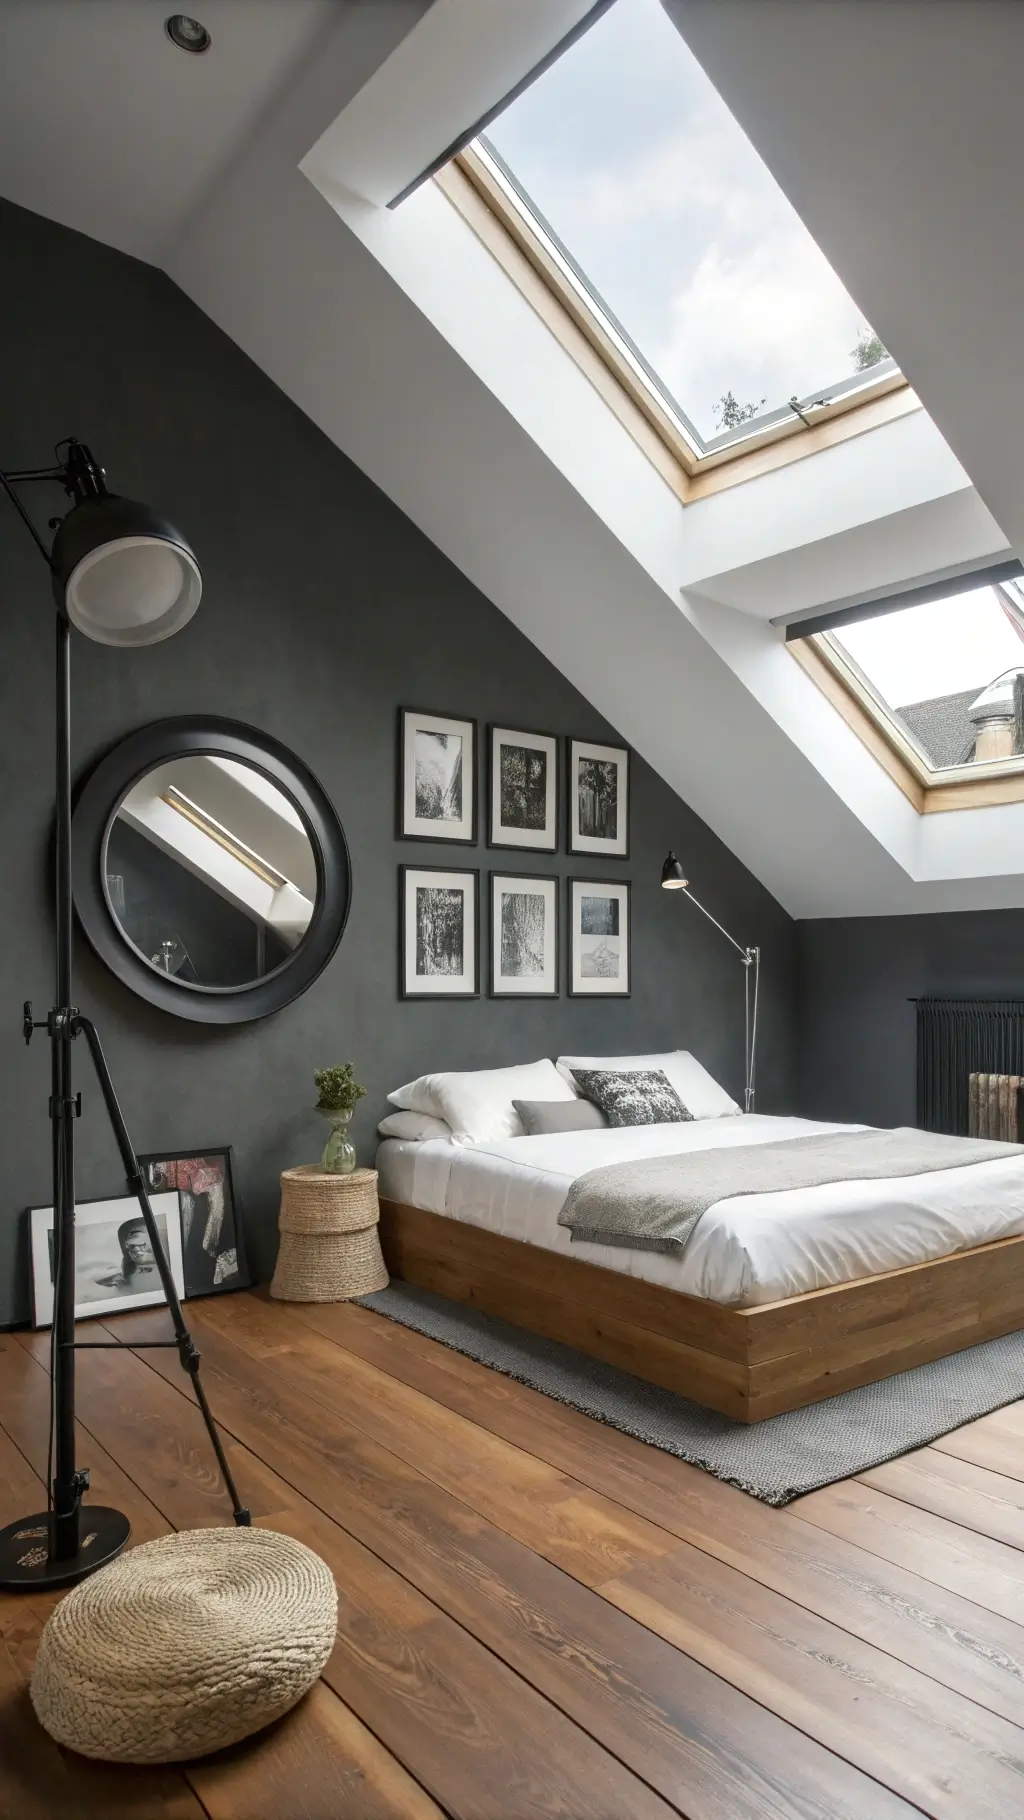
Bed placement is everything. Position it under a slope or dormer window for a cocoon effect.
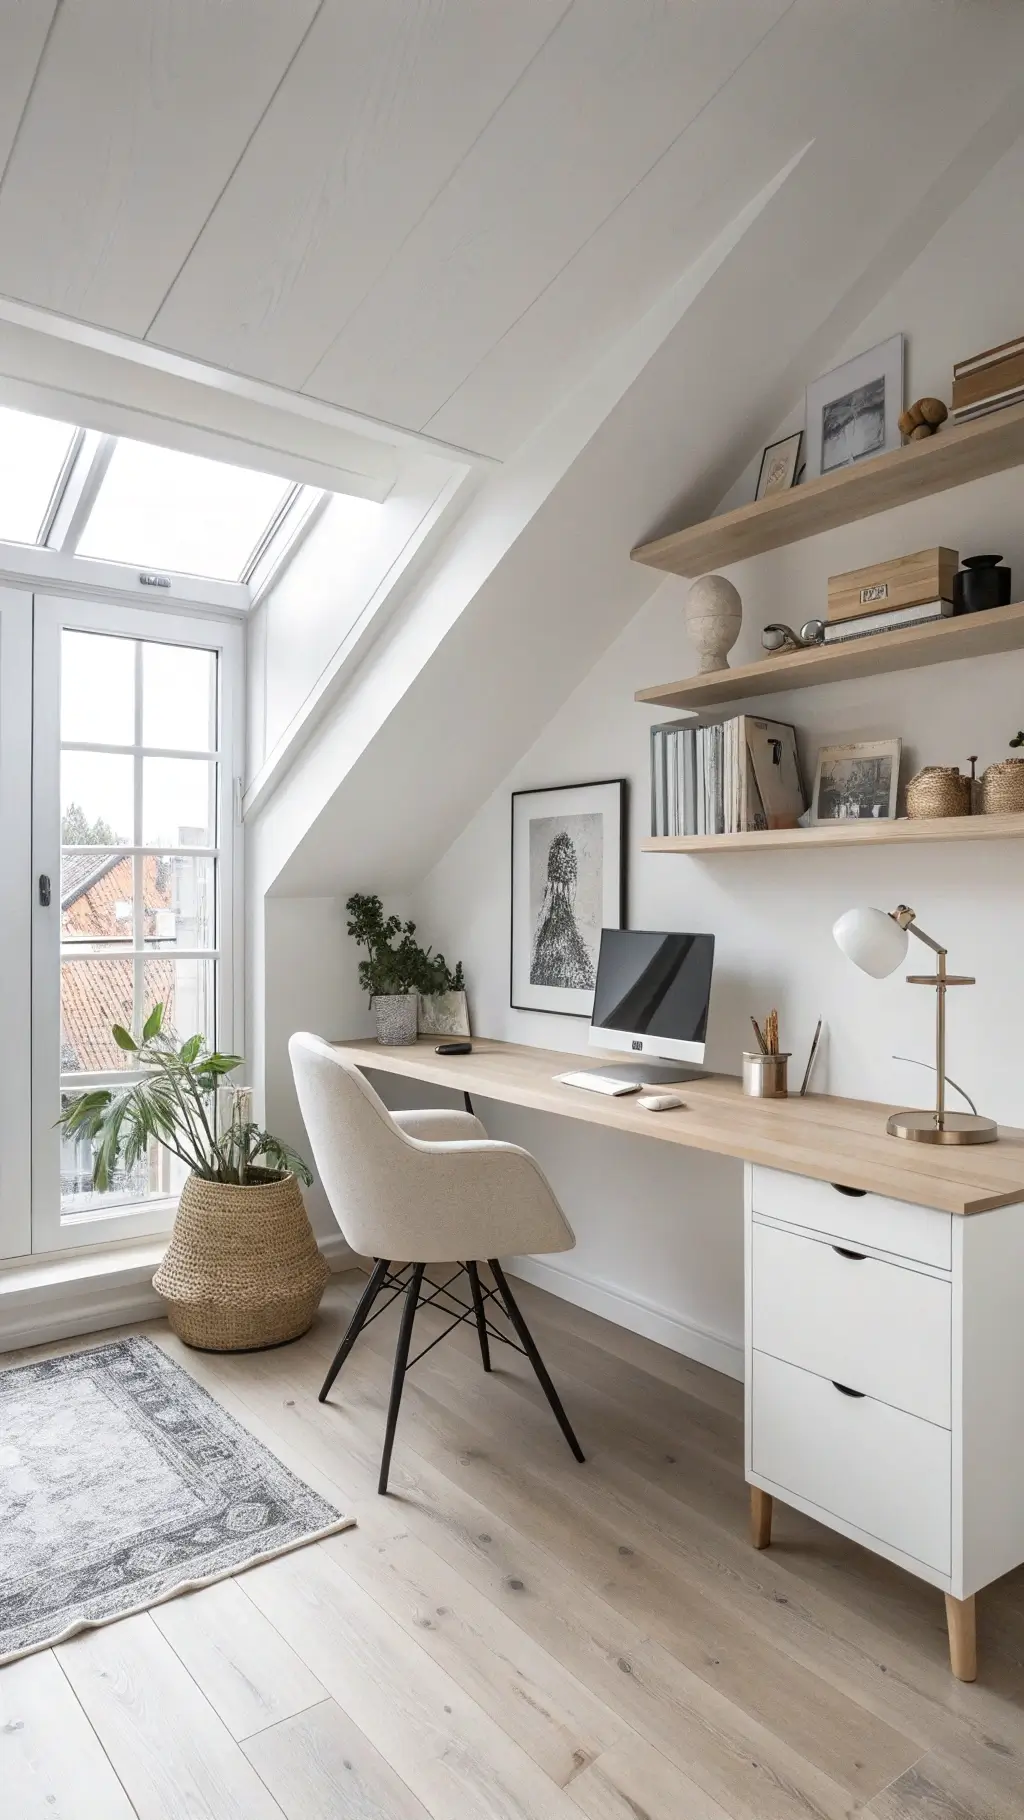
Built-in storage = vertical space savior. Use floating shelves or custom cabinetry.
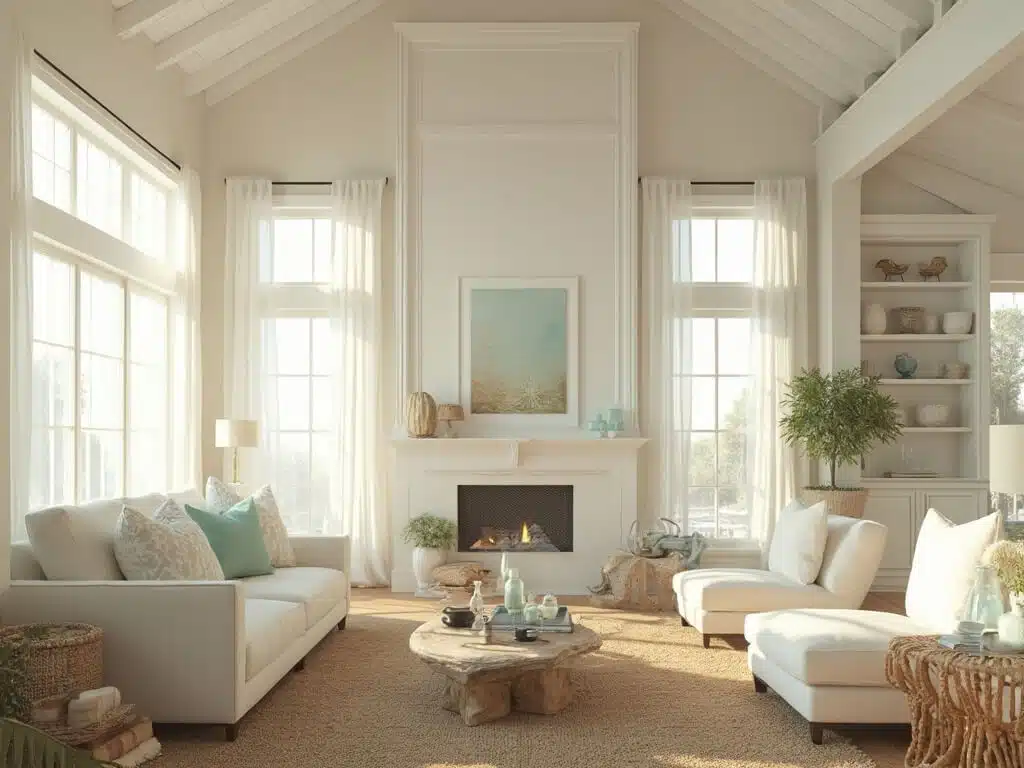
One statement furniture piece to anchor the whole space.
The Supporting Cast
Textiles add warmth—chunky blankets, pillows, plush rugs make a huge difference.
Mirrors bounce light and open up the space.
Gallery walls near light sources become stunning focal points.
Lighting: The Thing That Makes or Breaks Everything
Lighting is absolutely critical in attics because they rarely have enough windows.
- Ambient lighting – general illumination
- Task lighting – focused for reading or work
- Mood lighting – fairy lights, LED strips for ambiance
Color temperature matters—stick to 3000K–4000K for a cozy glow.
Working With Weird Spaces (Instead of Against Them)
Turn sloped ceilings into reading nooks with cushions and shelves.
Use low corners for storage with baskets and rolling bins.
Embrace the beams—wrap them in lights or leave them raw for added character.
Putting It All Together (My Actual Process)
Step 1: Clear Everything Out
Measure usable zones and assess natural light.
Step 2: Pick Your Colors
Use the 70-20-10 rule for balance and cohesion.

Step 3: Position Your Biggest Piece First
Start with bed, desk, or sofa—build around it.
Step 4: Add Storage
Install shelves, ottomans, and closet systems before decorating.
Step 5: Layer Lighting
Start with ambient, add task, finish with mood lighting.
Step 6: Textiles
Rugs, curtains, bedding—make it soft and cozy.
Step 7: Accessorize
Less is more. Pick bold, intentional pieces.
Making It Feel Like Yours
Celebrate the weird architecture—it’s what makes attics special.
Mix textures for visual interest.
Create a focal point that draws attention away from awkward angles.
Keeping It Fresh Without Starting Over
Seasonal swaps like bedding and pillows make a big impact.
Budget-friendly updates: paint, rearrange furniture, change out art or lights.
Common Mistakes I Made (So You Don’t Have To)
- Trying to make it look like a regular room
- Ignoring temperature control
- Overcrowding
- Skimping on lighting
- Forgetting about stair access